
Create an Ornament to Celebrate Your Furry (or Feathered) Friends!
Every year one of my favorite traditions is to make homemade ornaments. It is so fun to unwrap the memories year after year. One of my favorite methods of making homemade ornaments is to make salt dough ornaments. I’m sure at one point in time everyone has had experience with salt dough. Do I need to mention those handmade ornaments from kindergarten?
Salt dough ornaments are so incredibly easy to make and can be made with items you probably already have around the house. The recipe is very simple and can easily be doubled if you need more salt dough. To make the salt dough you need salt, flour, and water, it’s that easy!
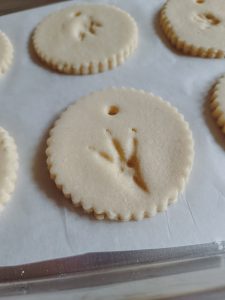
The salt dough holds up well to rolling, cutting with cookie cutters, and making hand or paw prints in it. A few years ago I started making annual salt dough paw print ornaments with my Guinea Pig. What started as a funny ornament to give to friends and family turned into a great tradition and memory of our pets from the past. Believe it or not, our chickens even get in the action and make salt dough ornaments as well!
In our last batch of salt dough ornaments, we featured our newest baby Guinea Pig – Eve. She is quite an interesting little friend, and it was fun to make her first set of ornaments.

To make our salt dough paw print ornaments, we are going to start by making the dough. We are focusing on paw print ornaments but this same method works great with handprints as well. Gather 1 cup of all-purpose flour, 1/2 cup warm water, and 1/2 cup table salt.
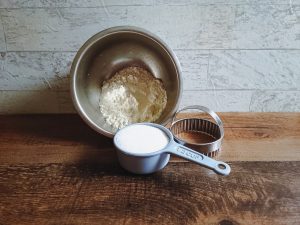
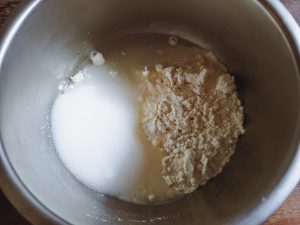
Mix the flour and salt together in a bowl. Gently pour the warm water into your mixture. Start kneading the dough. The dough will be messy at first but as you mix it, the salt dough should go from a messy blob to a nice dough. If you notice your dough is a bit dry, add a tiny bit of water, very little at a time. If the dough becomes too sticky, add just a little more flour.
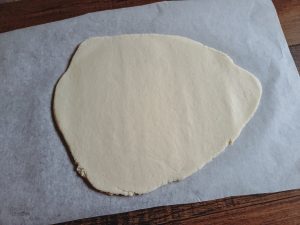
After your dough is fully mixed, it is time to roll out. I like to roll my salt dough on some parchment paper with a very, very light dusting of flour. This prevents your ornaments from sticking. Roll your dough until it is 1/4″ thick. You don’t want your ornaments to be thick. If your ornaments are too thin, they will become brittle after drying.
You have a few options for your paw prints. You can have your furry friend push their paw into the rolled-out salt dough first, then you can cut around the prints. I prefer using a cookie cutter, and cutting out the shapes first, then making our paw prints. A simple biscuit cutter makes a fun shape for the ornament.
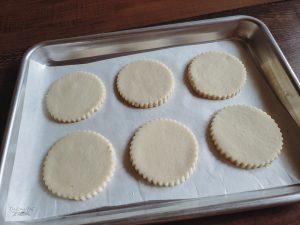
Next use a straw or small cookie cutter to make the hole for your hanging about 1/2-1″ from the top of the ornament. Salt dough can start to dry out, so you want to be sure to get your paw print within 30 minutes of rolling out and cutting your salt dough.
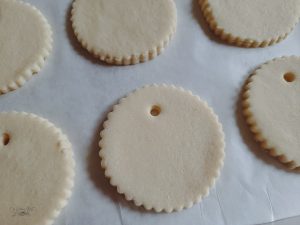
To make getting the paw print super easy, you can take your cut-out shapes, on a piece of parchment, and put them on a cookie sheet. This will allow you to move the cutouts closer to your pet.
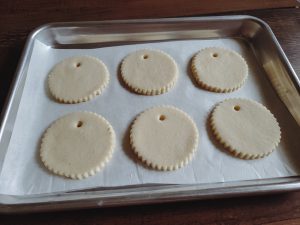
Gently help your pet push their paw into the salt dough. You want to push about halfway to 3/4 down into the salt dough. Too far down, and you could get a brittle spot after drying too light pressure and after drying your print may not show up well. After your prints are done, give your pet a special treat for a job well done!
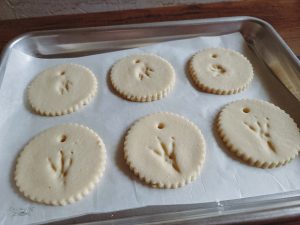
Now it is time to dry your ornaments. You can use an oven set to 200 degrees Fahrenheit for 2-4 hours. Just be sure to watch your ornaments, make sure there is no burning. A dry ornament will be very light and hard when it is dry. You can also use a dehydrator like we did, set to 160 degrees. With this method, it took about 3-4 hours for our ornaments to be fully dry.
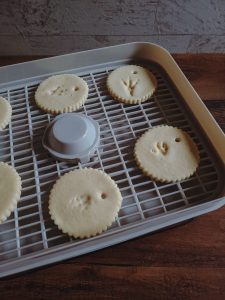
After your ornaments are all dry, they are ready for display! You can give your ornaments a quick spray with clear acrylic to seal them. You can even paint your ornaments for a fun touch! Add a hanger, and find the perfect spot on your tree!
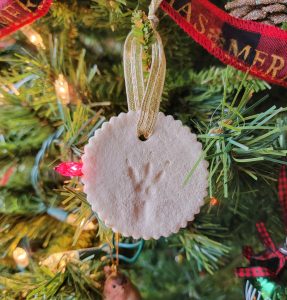
Making these ornaments are so fun, and easy! Celebrate your furry, and feathered friends by making some salt dough ornaments! Happy creating!


Leave a Reply