Propel your picture taking ability to the next level with some simple to make photography backdrops!
It’s no secret I love photography! Everyone who takes pictures whether you do it for fun or for profit has their favorite subjects. Personally, I have a few different “niches” I really enjoy, but one favorite is food photography. I found quickly that with food photography you need a great backdrop to really make your photos special. There are many different types of tabletop “backdrops” you can purchase out there but they can be a bit pricey. If you are like me though you want some different options for your photography without spending a ton of money.
As the daughter of a floor layer, I’ve spent a lot of time in the tile department at my local hardware store. I always thought it was so neat to see all the flooring and how the tiles were used. I remember thinking, wow they have flooring that looks like wood! My science project in grade school was about which flooring is the toughest, so flooring is literally in my blood! As an adult to still find myself in those aisles, looking at all those tiles, showing my dear husband every tile I pick up. I recently noticed some tiles I really liked and thought to myself why not buy a few and make my own backdrops? It can’t possibly be that hard and let me tell you, it’s beyond easy!
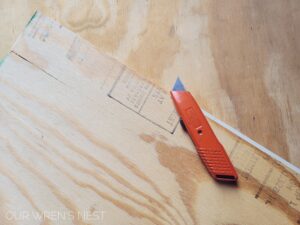
To make your own photography backdrops, you will first need to get a base for your backdrop. I like to make my backdrops double-sized (again more options) so I tend to work with 1/2” plywood pieces. I cut them into 24”x24” squares. The size and thickness of your backdrop are going to depend on your needs. You may want something easier to store, so 1/4” plywood may be a better option. Photograph larger items? Cut your plywood squares a bit larger. I like to make some backdrops that are for the “countertop”, and some that mimic the “kitchen wall”.
Now you are going to choose what sort of tiles to use on your backdrop. I have used actual ceramic tile before, gluing the tiles into place, and grouting the entire backdrop. Though it looked really good in the end, the backdrop itself is very, very heavy. Recently I’ve switched to using peel and stick tiles. There are so many options out there, and the designs are always changing. Be sure whatever design you choose to makes sure the tiles are high quality. Remember these will be photographed, typically up close. It’s even better when you find a few peel and stick tiles on clearance at your local hardware store!
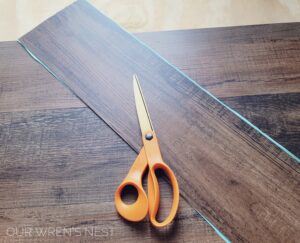
To make your backdrop, take your precut plywood piece, and lay the plywood flat on your work surface. Next with the protective cover still on the back of your tile, visualize the placement of your tiles. Be sure to have any designs oriented how they properly line up. If you are using faux wood-type tiles, be sure the grain is going in the correct direction, etc. If you need to trim any tiles to fit the board, now would be the time to do that.
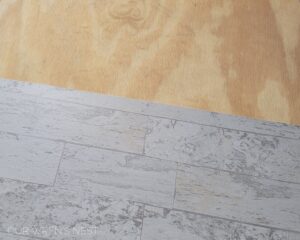
Next, after you have your placement all set, you are ready to put your tiles down. I like to check one more time and be sure my plywood is very clean, and sand any rough spots. You want a really good surface for your tiles to adhere to. Most of the time the glue on the back of the tile is strong enough to hold your tiles into place. If you want some extra insurance, you can add a small layer of tile glue to your plywood.
Now peel off the protective back on your tile, and glue your tiles to your plywood. Give the tiles a really good push, make all edges stick. After your tiles are installed, set your backdrop aside on a flat surface and allowed it to fully dry for a few days.
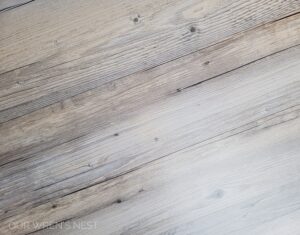
After your backdrops are fully dried, I suggest practicing with your new backdrops. Grab a simple object, and your camera and explore. I leave my boards disconnected, meaning I like to put one board against a wall, and use the bottom board to hold the back “wall” into place. If you would like, you can use a bracket to hold the backdrops into an “L”. Again going back to being able to change out my backdrops, I don’t secure anything into place. A good tip is to set up your photography set up near a window – you will get the perfect lighting!
This project will take you about 30 minutes to an hour, and in no time you have your own professional photography backdrops! They will be easy to clean, look great in your photos, and totally personalized to your style! Happy creating!
