Keep Your Hands Warm With a Recycled Sweater!
Raising chickens we learned some things really quick. Chickens like to make a mess. Chickens seem to multiple on their own (chicken math). Barn chores can be both super fun, and tiring at the same time. Sooo much chicken manure. In the winter you need good gloves and mittens to keep your hands warm while tending to the flock!
We learned very early on that it is good to have multiple pairs of gloves, all different kinds, and mittens are excellent for warming up quickly. You don’t want to wear your most expensive gloves and mittens in the barn because they can get pretty dirty quickly.
A really inexpensive way to make some mittens easily is to make them out of old wool sweaters. We like to frequent our local thrift stores to find wool sweaters that may not be good enough for wearing, but would be great for making mittens out of. There are many different ways to make recycled sweater mittens, using all kinds of patterns. Since these will be barn mittens, here are our simple steps we use to make our mittens.
Finding The Right Sweater
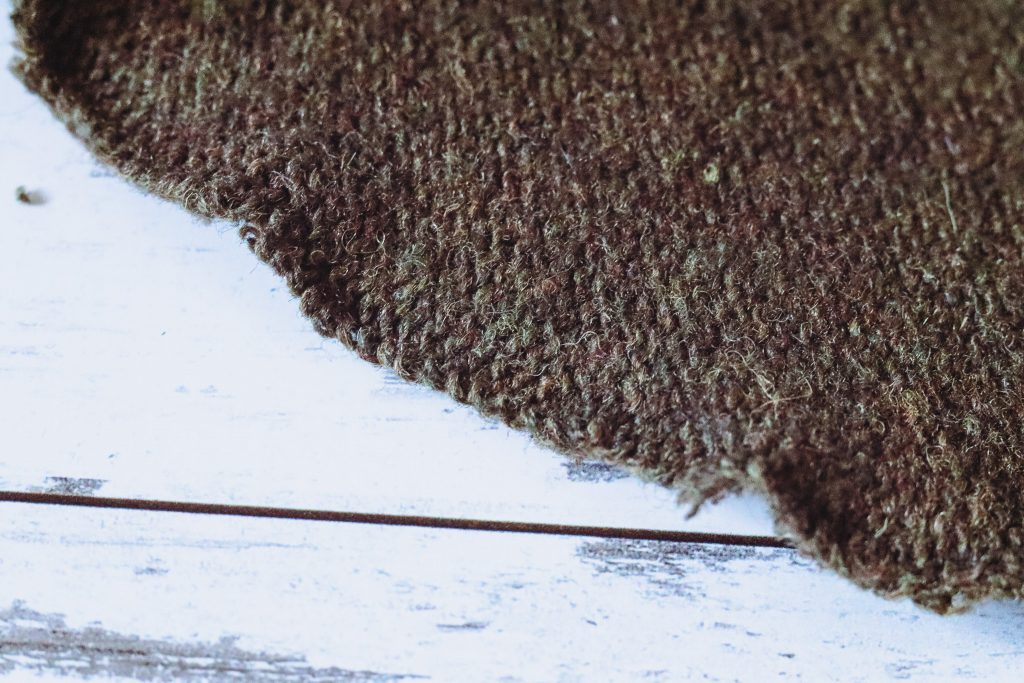
When looking for a good sweater to make your mittens out of, you want to find a sweater that is first made out of a 100% wool. The idea is that by using an older sweater, the wool has felted making very nice wool felt. When wool has felted the fibers become tightly woven.
If you find a sweater you absolutely love, but is has not felted just yet, throw the sweater in your next couple loads of laundry, and put the sweater in the dryer. The washing and drying of the sweater will cause the wool fibers to felt. Repeat the process 3 or 4 times.
Making a Pattern
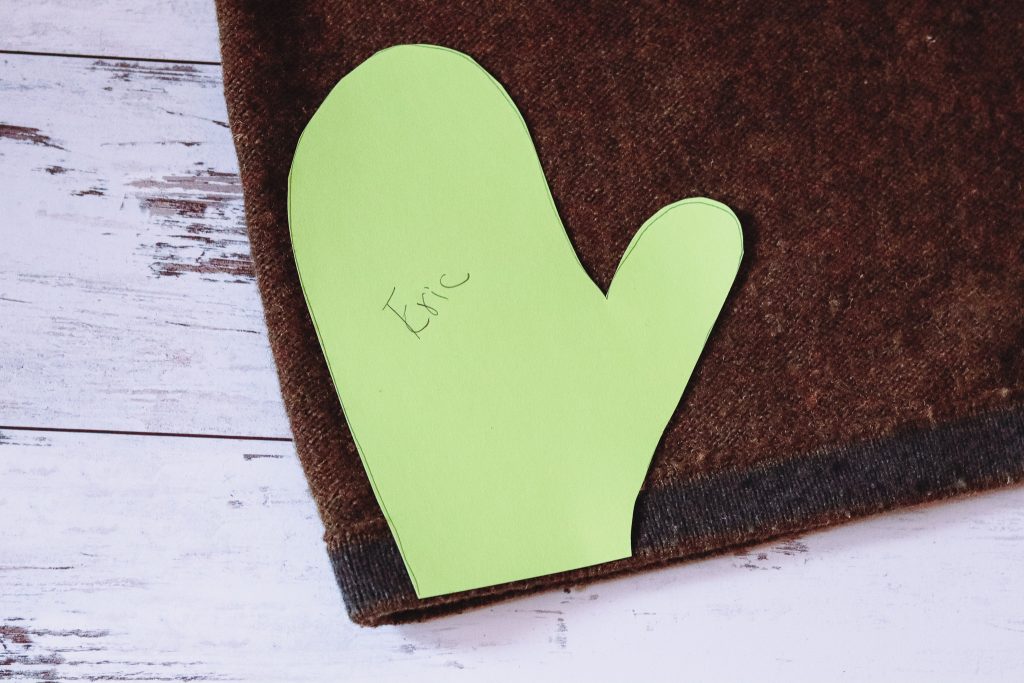
To sew your mittens, you will need to make yourself a pattern. Place your hand on a piece of paper or card stock, with your thumb open like a mitten. Having a friend trace your hand is really helpful. You want to keep the pencil or pen nice and straight when tracing around your hand. Be sure to leave at least 1/2″ around your hand when tracing for sewing, and then turning your mittens. You can make 2 patterns for left and right hands, or just flip your pattern when cutting out your mittens.

Cut Out Your Pattern
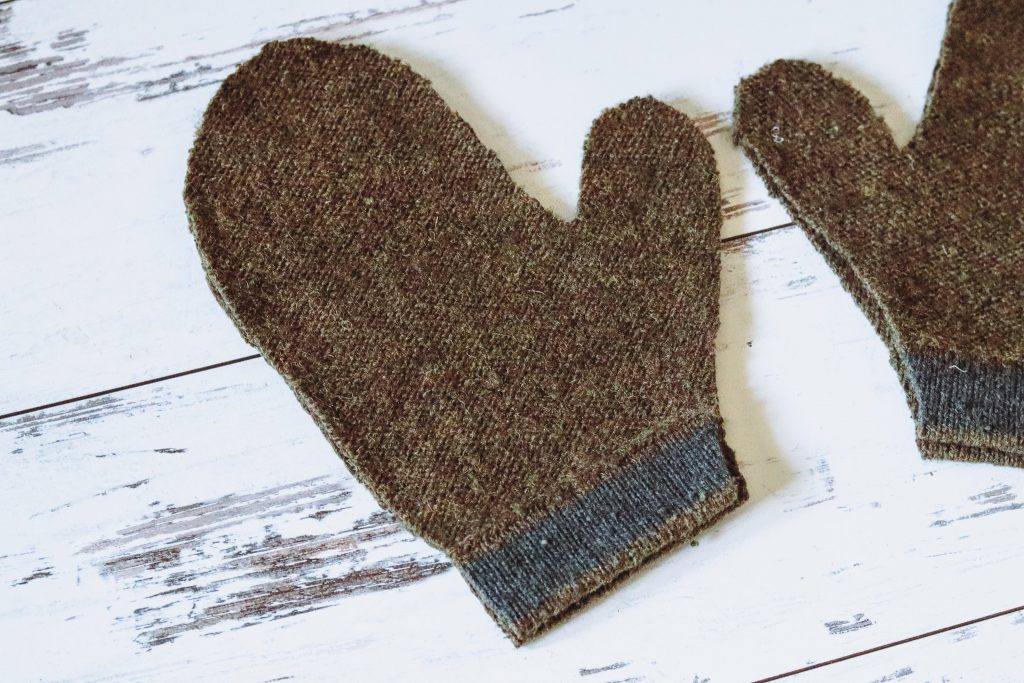
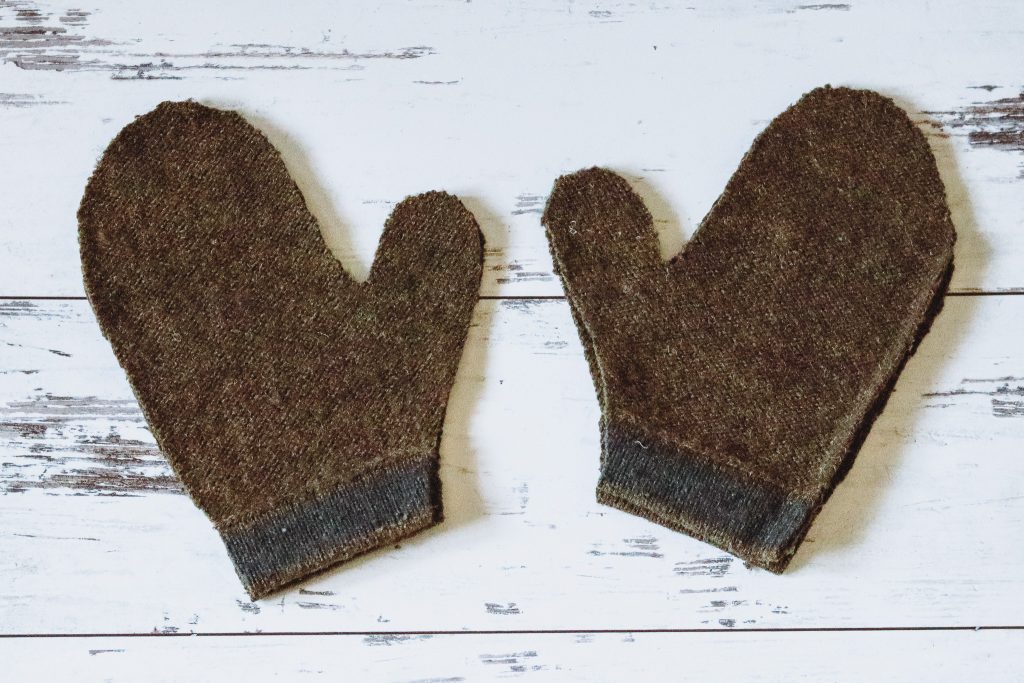
After your pattern is all ready, it’s time to cut out your mittens! Depending on your sweater, you can either cut your mittens from the bottom of the shirt where there is a finished edge, or you can even use the arm of the sweater using the cuff as the bottom of your mitten.
Make sure your sweater is turned with right sides together, and cut out 2 sets. One for the left hand, and one for the right hand. Make sure you watch those thumbs! Be sure to pin your pattern into place, and cut very carefully, especially if your fabric is a bit stretchy.
Time For Sewing!
After your mittens are all cut out, pin the 2 pieces together, and head over to your sewing machine. You can hand stitch these mittens too, it will just take a little extra time. When sewing the mittens, a seam allowance of 5/8″ with a zig zag stitch works really well. This makes the mittens extra durable for those cold days in the barn!
Make sure when you are sewing to set your machine to the proper setting for a more stretchy fabric. If you are not careful, you could end up with fabric is that is overly stretched when sewing. A way to prevent the extra stretch is to sew the mittens once around with a straight stitch (basting stitch), then go back and zig zag over your straight stitch.
Time To Be Warm!
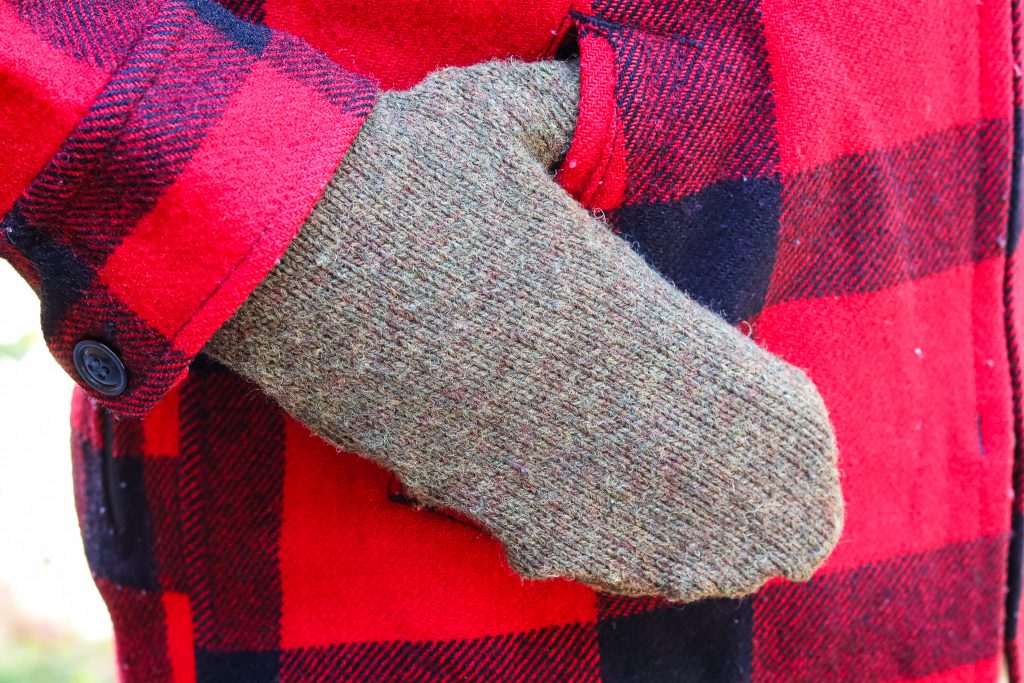
After your mittens are all sewn, turn right side out and give them a test! You will instantly love the warmth your new mittens will give you! These barn mittens are not only great for you and your family, but make great gifts as well!
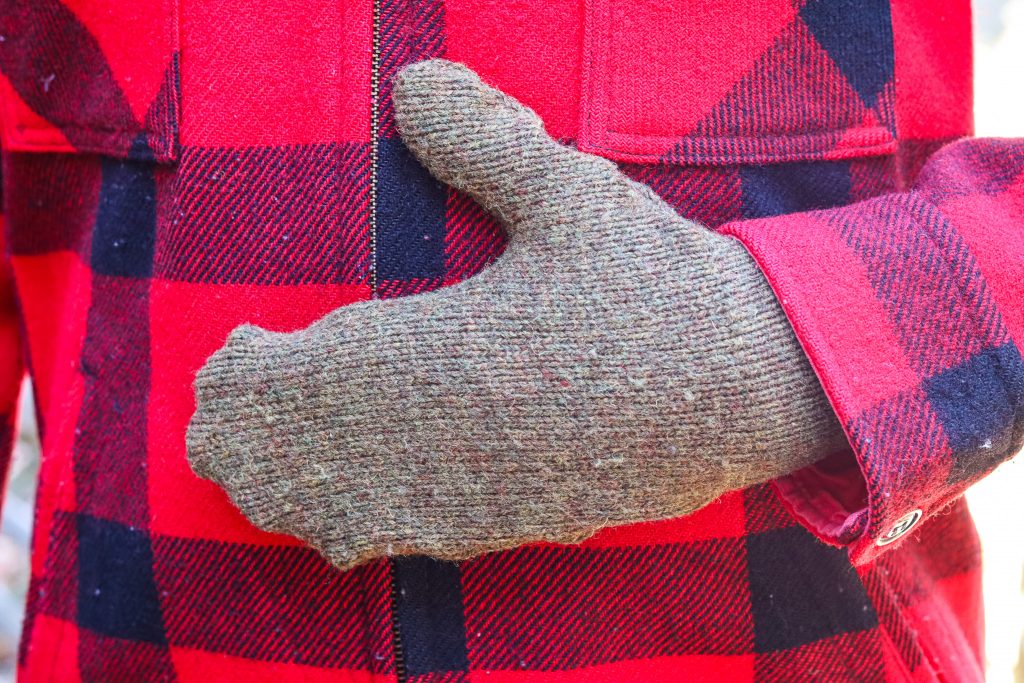
Hopefully we have given you some inspiration to make your recycled sweater barn mittens! Your hands will thank you this winter! Happy sewing!
