
Create a unique ghost for your Halloween decor!
After creating our Concrete Pumpkin Planter, we had some extra concrete left over. The flower beds were looking a little empty and needed a spooky touch. I decided to try the technique of making a concrete ghost! Like the Concrete Pumpkins, everyone has their favorite method of making these. This process I’m sharing, I found to be the easiest way to make a fun concrete ghost!
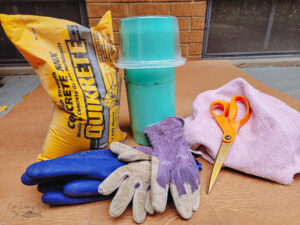
To get started you will need to gather some supplies. You will need a 1 – 10 lb bag of quick-dry concrete, a container to mix your concrete in, some thick rubber gloves, an old towel, and some pieces to build your ghost armature from. We used some PVC pipe, and a rolled-up towel piece to make the ghost shape. Another great way to get the perfect shape to the top of your ghost is to use an old ball at the top of the PVC pipes.
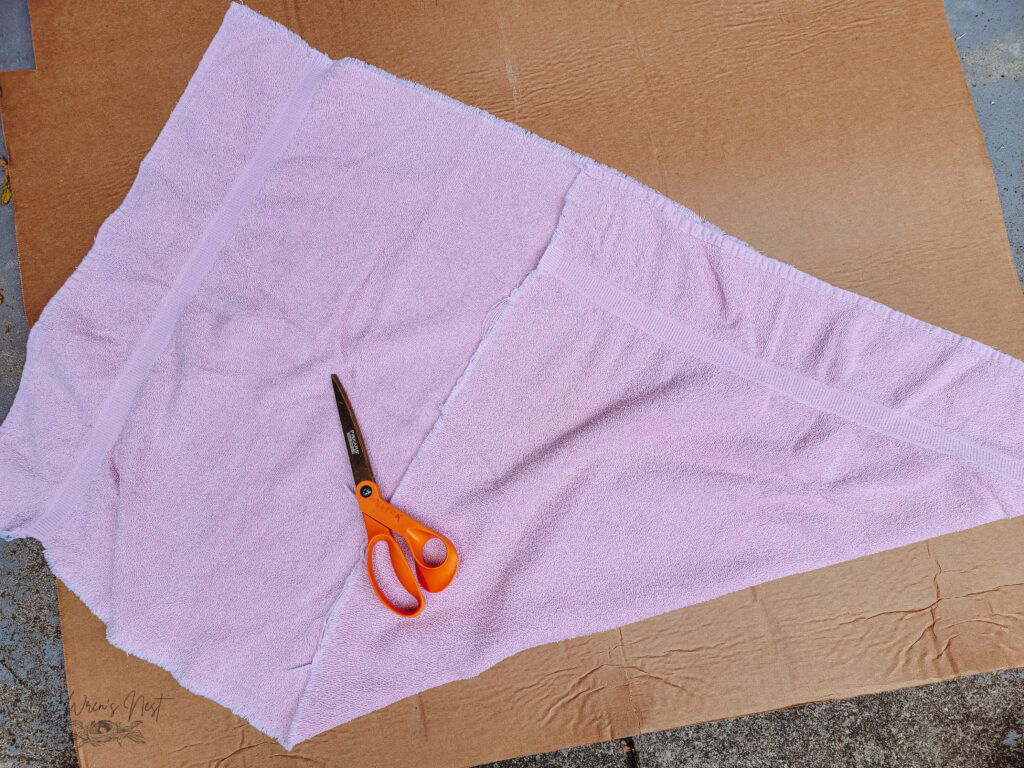
Next, you need to prep your towel for soaking in the concrete mix. Lay your towel down flat, and fold up one corner to make a square. Cut the extra off your towel. When you open the fold back up, you will now have a square piece of towel. Set the extra aside for another project. The bigger the towel you use, the bigger your ghost will be. We used a bath towel, you can also use a beach towel for a bigger ghost. You will just need to adjust your ghost “frame” underneath.
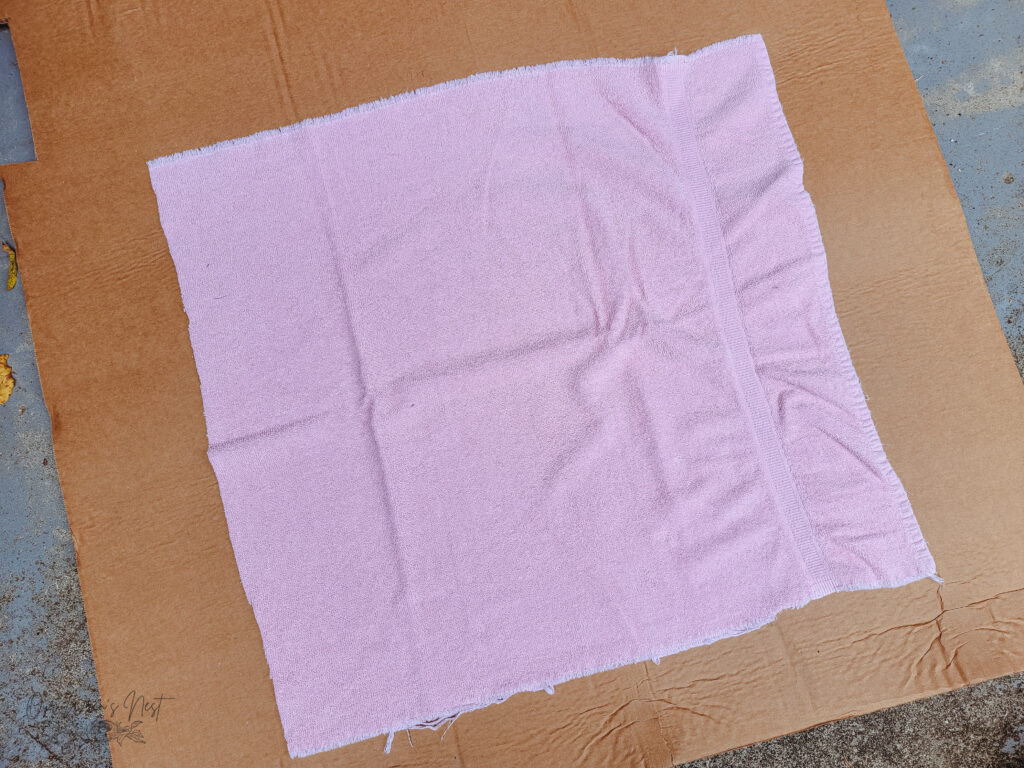
After your towel is cut, you will make your armature for your ghost. To make ours, we kept it very simple, a 12″ piece of old PVC pipe, an old bowl for “shoulders”, and a rolled-up towel for the rounded top of the ghost head. Be creative, look through your garage to find pieces to build your model. Just be careful of whatever you use, you will need to carefully pull it back out after drying. You can even use some wire to make ghost arms.
It’s so fun visualizing how you would like your ghost to look. Place your towel on the model, and adjust how you would like the towel to lay, and look. This ghost is made to stand on its own, so you want to be sure you have at least 4-5 inches of towel laying on the ground all the way around.
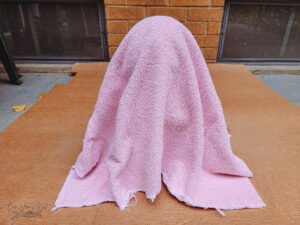
When your model is ready cover the armature with a plastic grocery bag, and wrap some tape around to hold it into place. Place your towel back over the model, and mark the placement of the eyes and mouth. Very carefully using your scissors, cut out the eyes, and mouth.
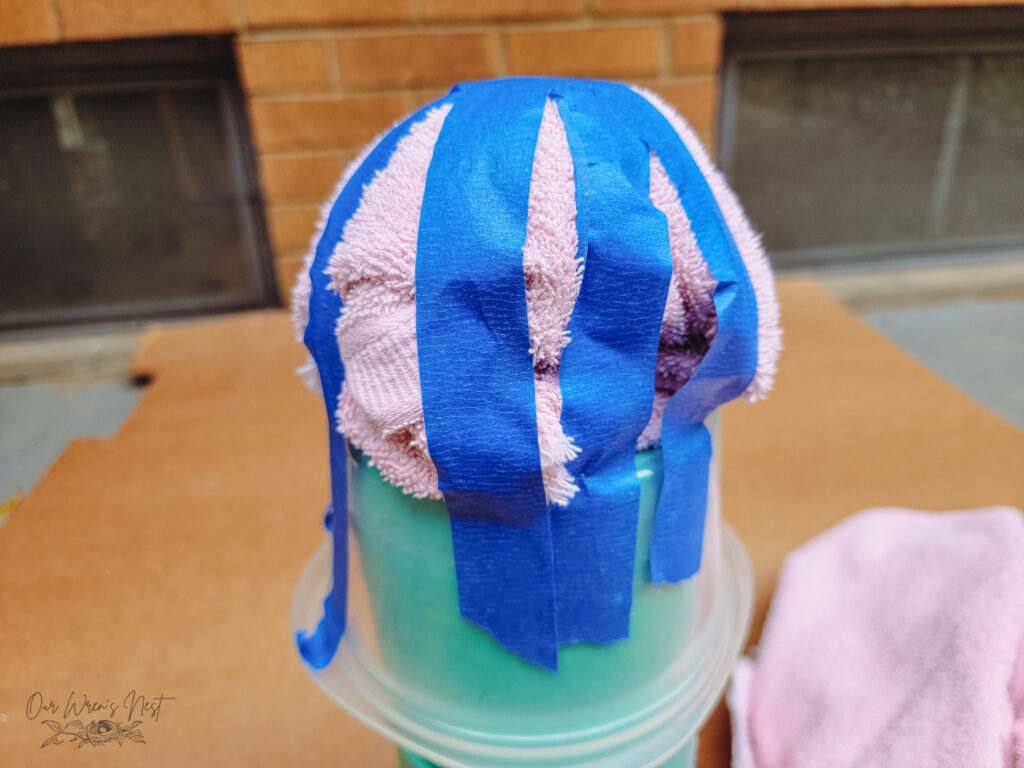
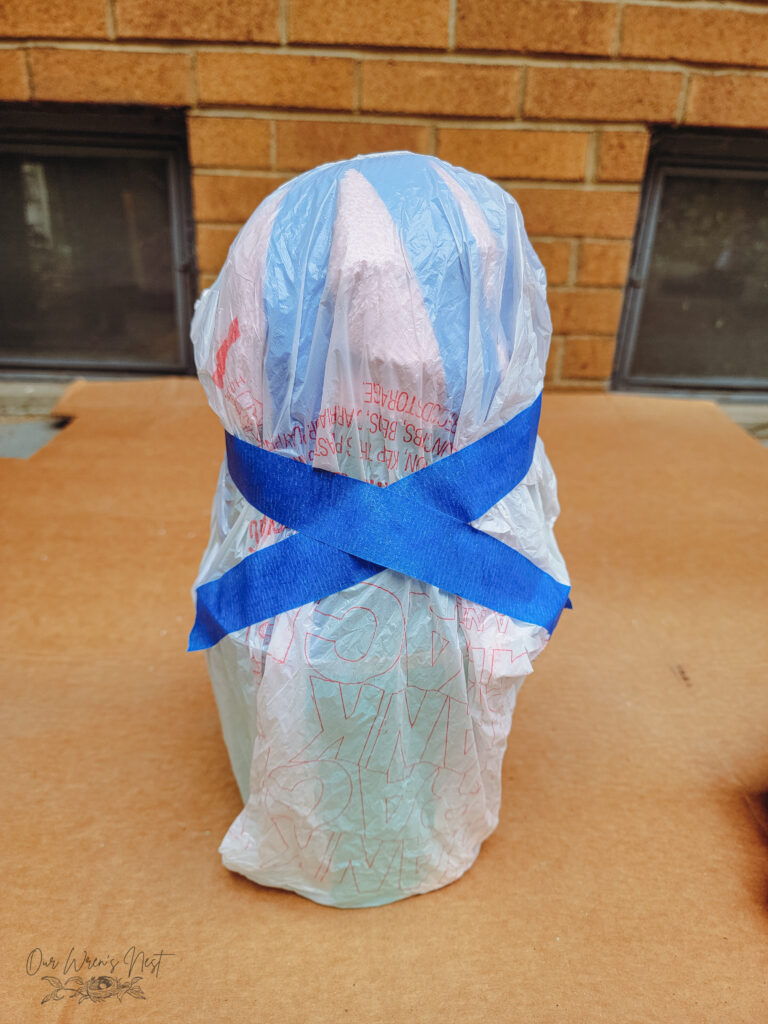
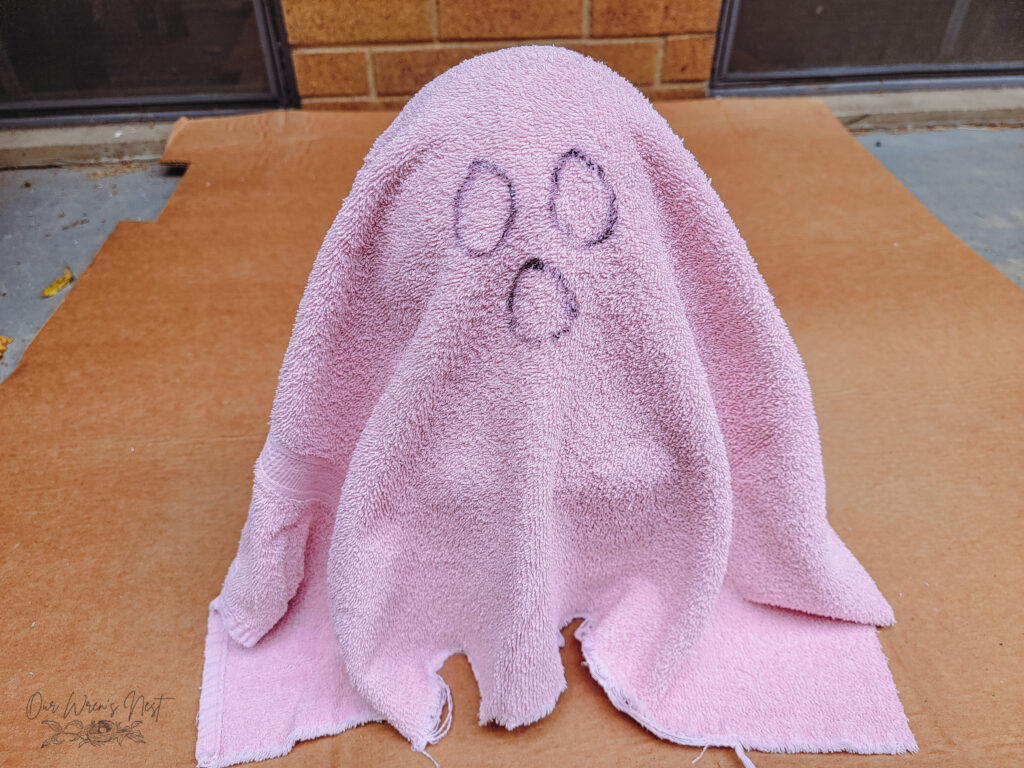
Now it is time for concrete. Follow the directions for mixing up the concrete you chose to use. Wet your towel and give it a good squeeze to get the extra water out of the towel. Take your towel and put it into the concrete, and start to work the concrete through the towel. It will take a few minutes for the towel to be fully saturated. Just keep working the towel through the concrete.
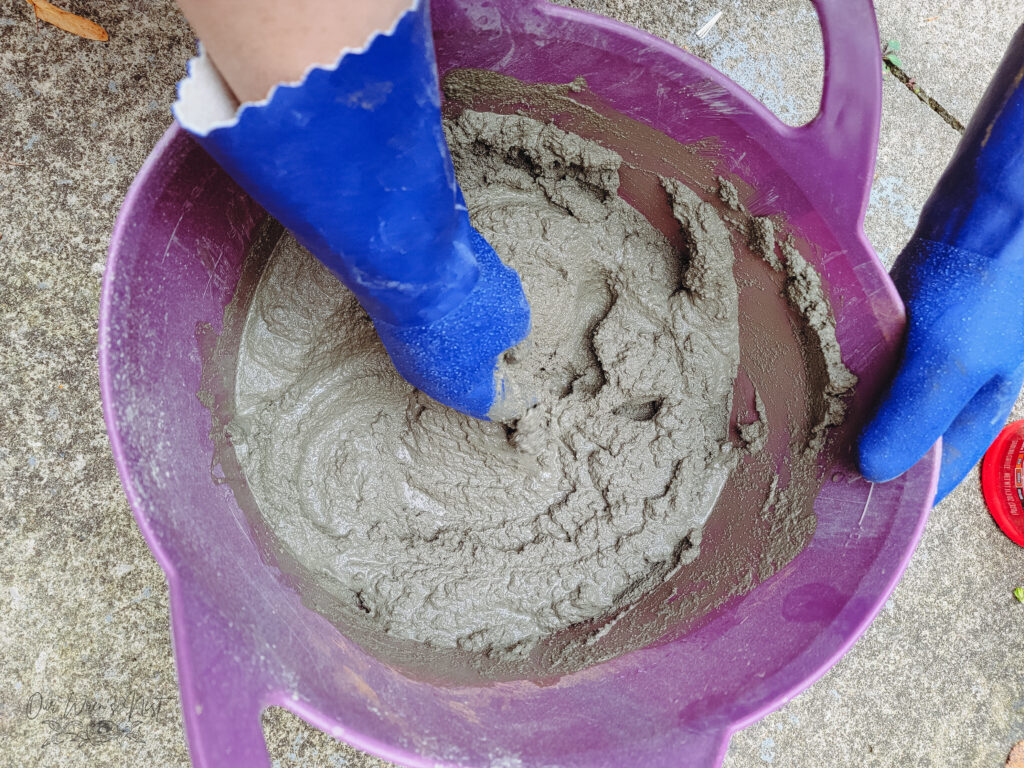
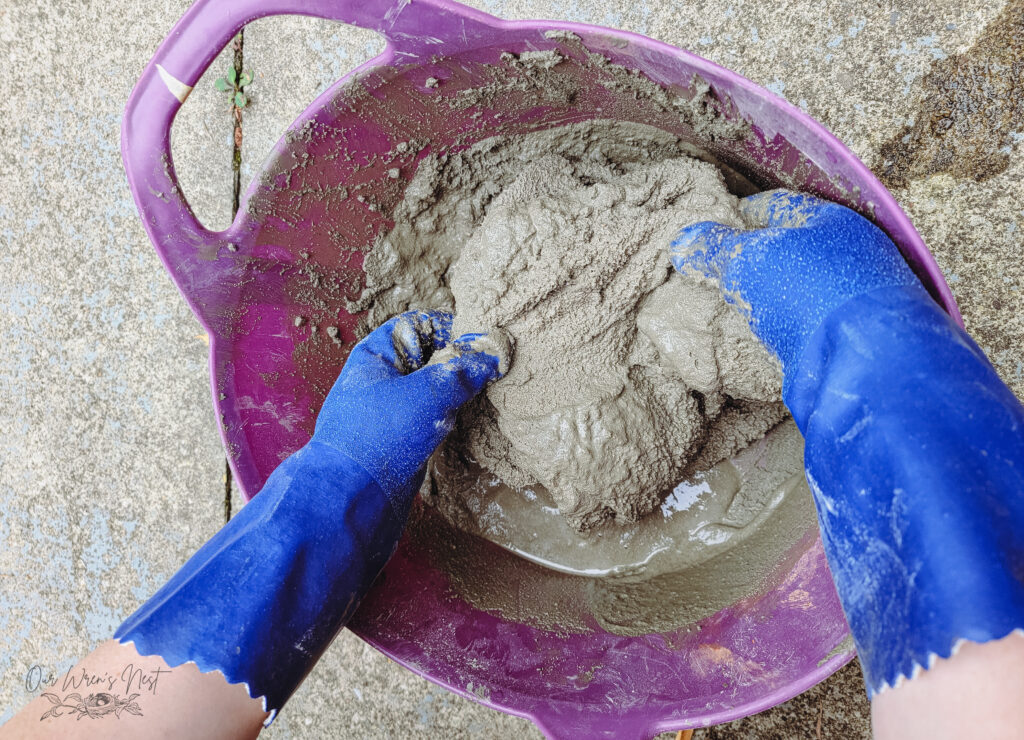
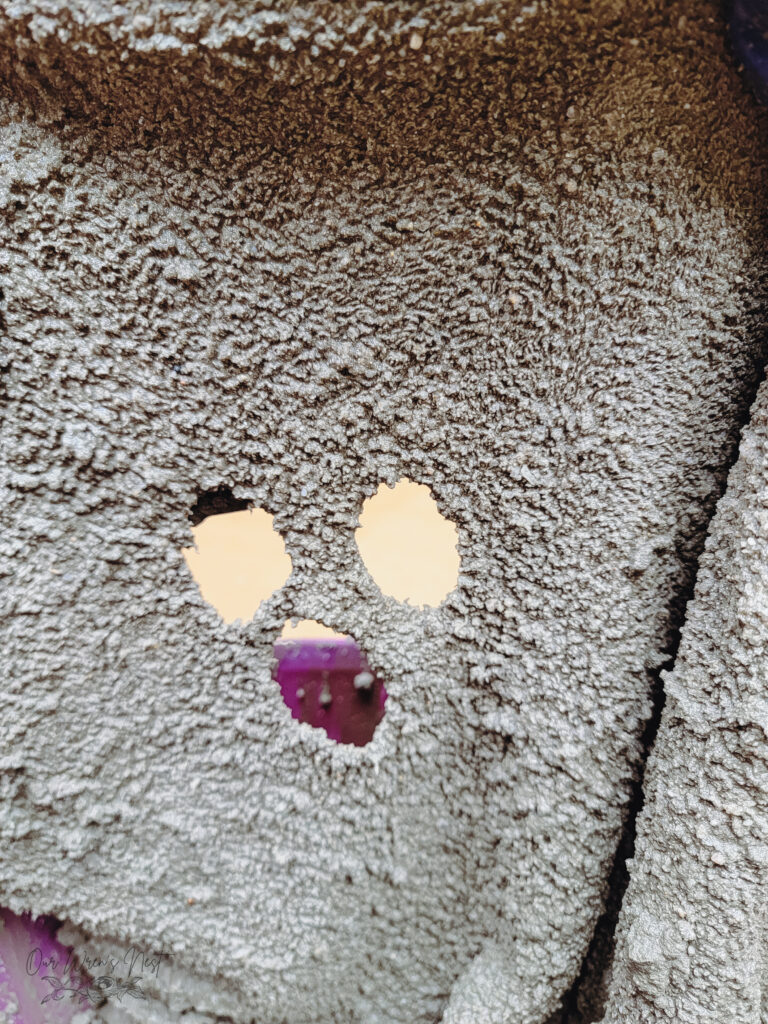
Your towel will be very wet and heavy when dipped in the concrete, so be sure your model is ready for the concrete-covered towel. Adding some cardboard underneath helps to keep any mess contained. Take the concrete towel, and drape it over your armature. Very gently adjust and move your towel.
The important part is to make sure the eyes and mouth line up in the front. Carefully adjust how you want the bottom of the towel to lay. It may have stretched a bit while it’s soaked with water and concrete, which is totally fine, it will just give you a stronger base.
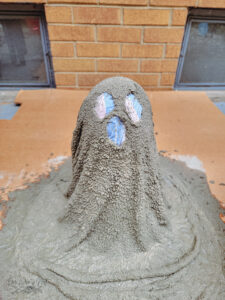
It’s time to be very patient now. After your towel is how you would like, and your ghost is formed you will need to let your ghost sit and harden for 2-3 days to become totally dry. We build our ghost in a place where the sun would shine on it to help with hardening.
Your ghost will look more white than gray when it’s fully dried. Very carefully peel your ghost off the cardboard, and remove the armature from underneath. It’s very helpful to have someone help you do this step. Find the perfect place for your ghost, and set it into place.
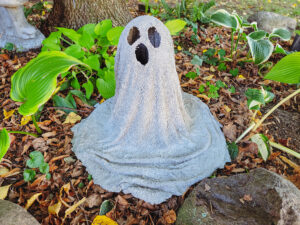
To make your ghost even more awesome, you can add a glowing light inside your ghost, and we found adding a blacklight creates the most amazing, creepy effect!
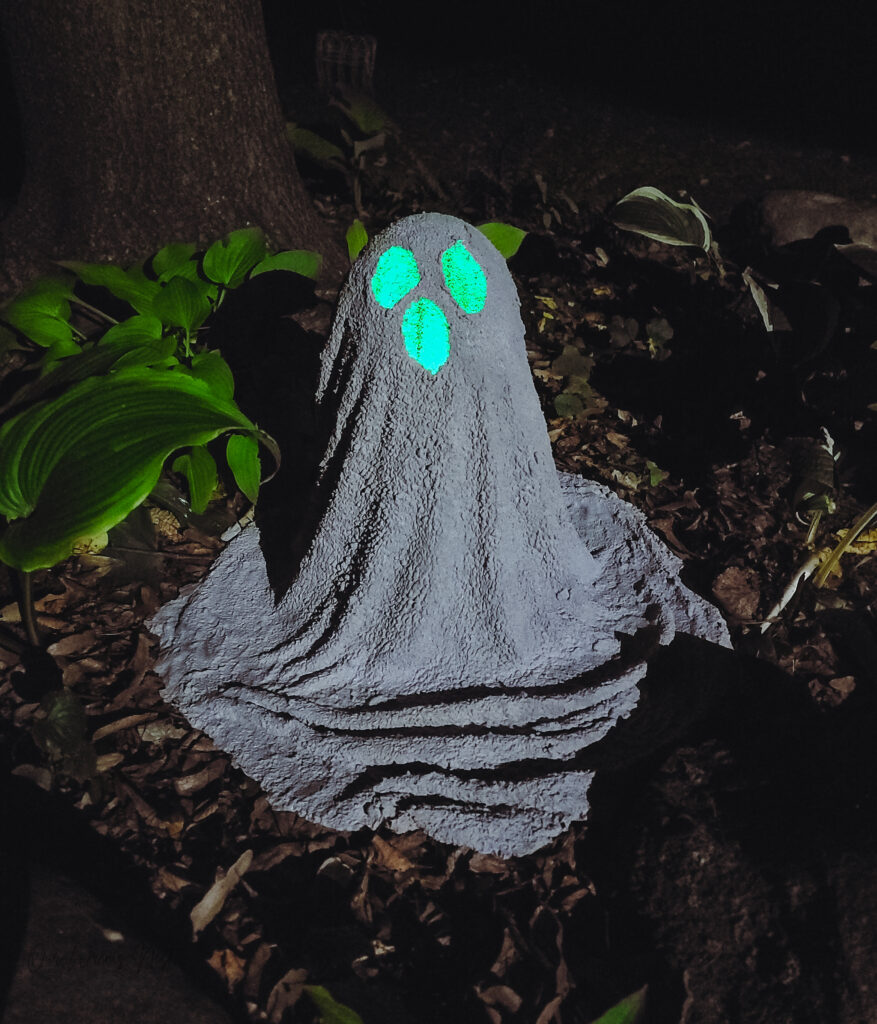
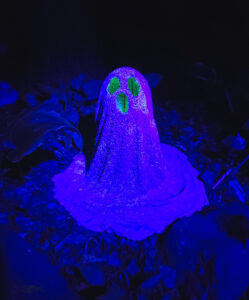
Hopefully, we have given you some inspiration to make a Creepy Cool Concrete Ghost of your own. This is a really fun, and different way to make spooky decor. Happy Halloween creating!


