
Create this fun, easy, and vintage craft!
I just love crafting, it is one of my very favorite things to do. I’m always exploring new ways to be creative. I have a deep passion for vintage crafting. Simple, easy, fun crafts to create that don’t require a ton of expensive supplies or tools like the Yarn Octopus!

Growing up we did a lot of crafting and made lots of really fun trips to our local craft store. We made so many great projects as a family, and yarn projects were my favorite. I remember learning how to make a yarn octopus, and it was one of my most favorite crafts. My mom talks about making yarn octopuses when she was young, my grandma made them, and they are still fun to make today!
With Valentine’s Day just around the corner, why not give this vintage, super fun project a try. The supplies are very easy to find, and your Valentine will love the handmade present.
Easy to Find Supplies
To get started you will need to gather some supplies. Most of these supplies you can find around the house, like our Valentine’s Day Gnome! You will need a skein of worsted weight yarn. Traditionally you would have used rug yarn, but the Red Heart basic yarn works just great for this project.

You will also need some scrap felt pieces for the eyes and mouth of your octopus. You can also use googly eyes if you would like in place of the felt eyes. For the head shape, you can either take some newspaper and form it tightly into a 2-3 inch ball, or you can use a 2-3 inch styrofoam ball as well.
Lastly, You will need a piece of cardboard about 2 feet long. We found the lid to a board game works great for this! Grab some good scissors, and your glue gun or fabric glue as well.
Wrapping Time
To get started on making your yarn octopus, you first need to form the yarn portion. To do this, you are going to take your skein of yarn and wrap the piece of cardboard, over and over again. You want to make sure you wrap enough to make your octopus nice and full. We like to wrap until the wrapped yarn is about 3 inches across.
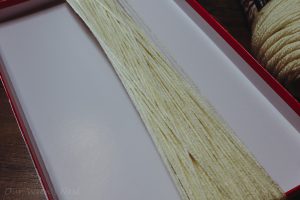
After you are done wrapping, take a piece of yarn that is about 6 inches long, and tie the yarn bunch in the center. You want to make this knot nice and tight, and you can even wrap the yarn around the bunch first before tying the tight knot.
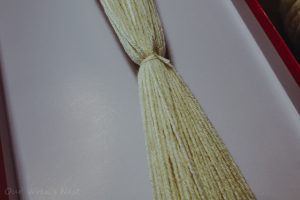
Carefully remove the now big yarn loop off the cardboard. Hold the loop at the top where you have tied the whole bunch of yarn together. Stretch the loop a little bit, take your scissors, and cut the loop at the bottom. You will now have lots and lots of strands of yarn tied together at the top.


Head, Shoulder….and Tentacles!
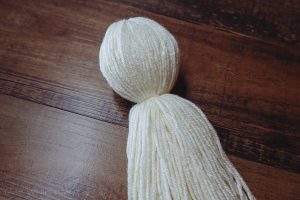
To create the head of your yarn octopus, cut a 6-inch piece of yarn and set it aside to use for tying. Place the 2-3 inch ball right under the knot you created and gently form the yarn about the ball, covering the ball completely. You can grasp the yarn underneath the ball holding where the octopus’s “neck” would be to work on while smoothing out the yarn around the ball.

Take the 6-inch piece of yarn and tie off the yarn, very tightly underneath the ball. This will form the head of your octopus, and all the extra yarn hanging down will be the tentacles! When tying underneath the octopus head, you can again wrap the yarn before tying a tight knot.
Tentacle Time!
Now is the fun part, creating the tentacles! Cut 8 – 5 inch pieces of yarn, and set them aside. Carefully divide the yarn underneath the head of your octopus into 8 equal sections. We like to set the octopus on a firm surface when doing this.
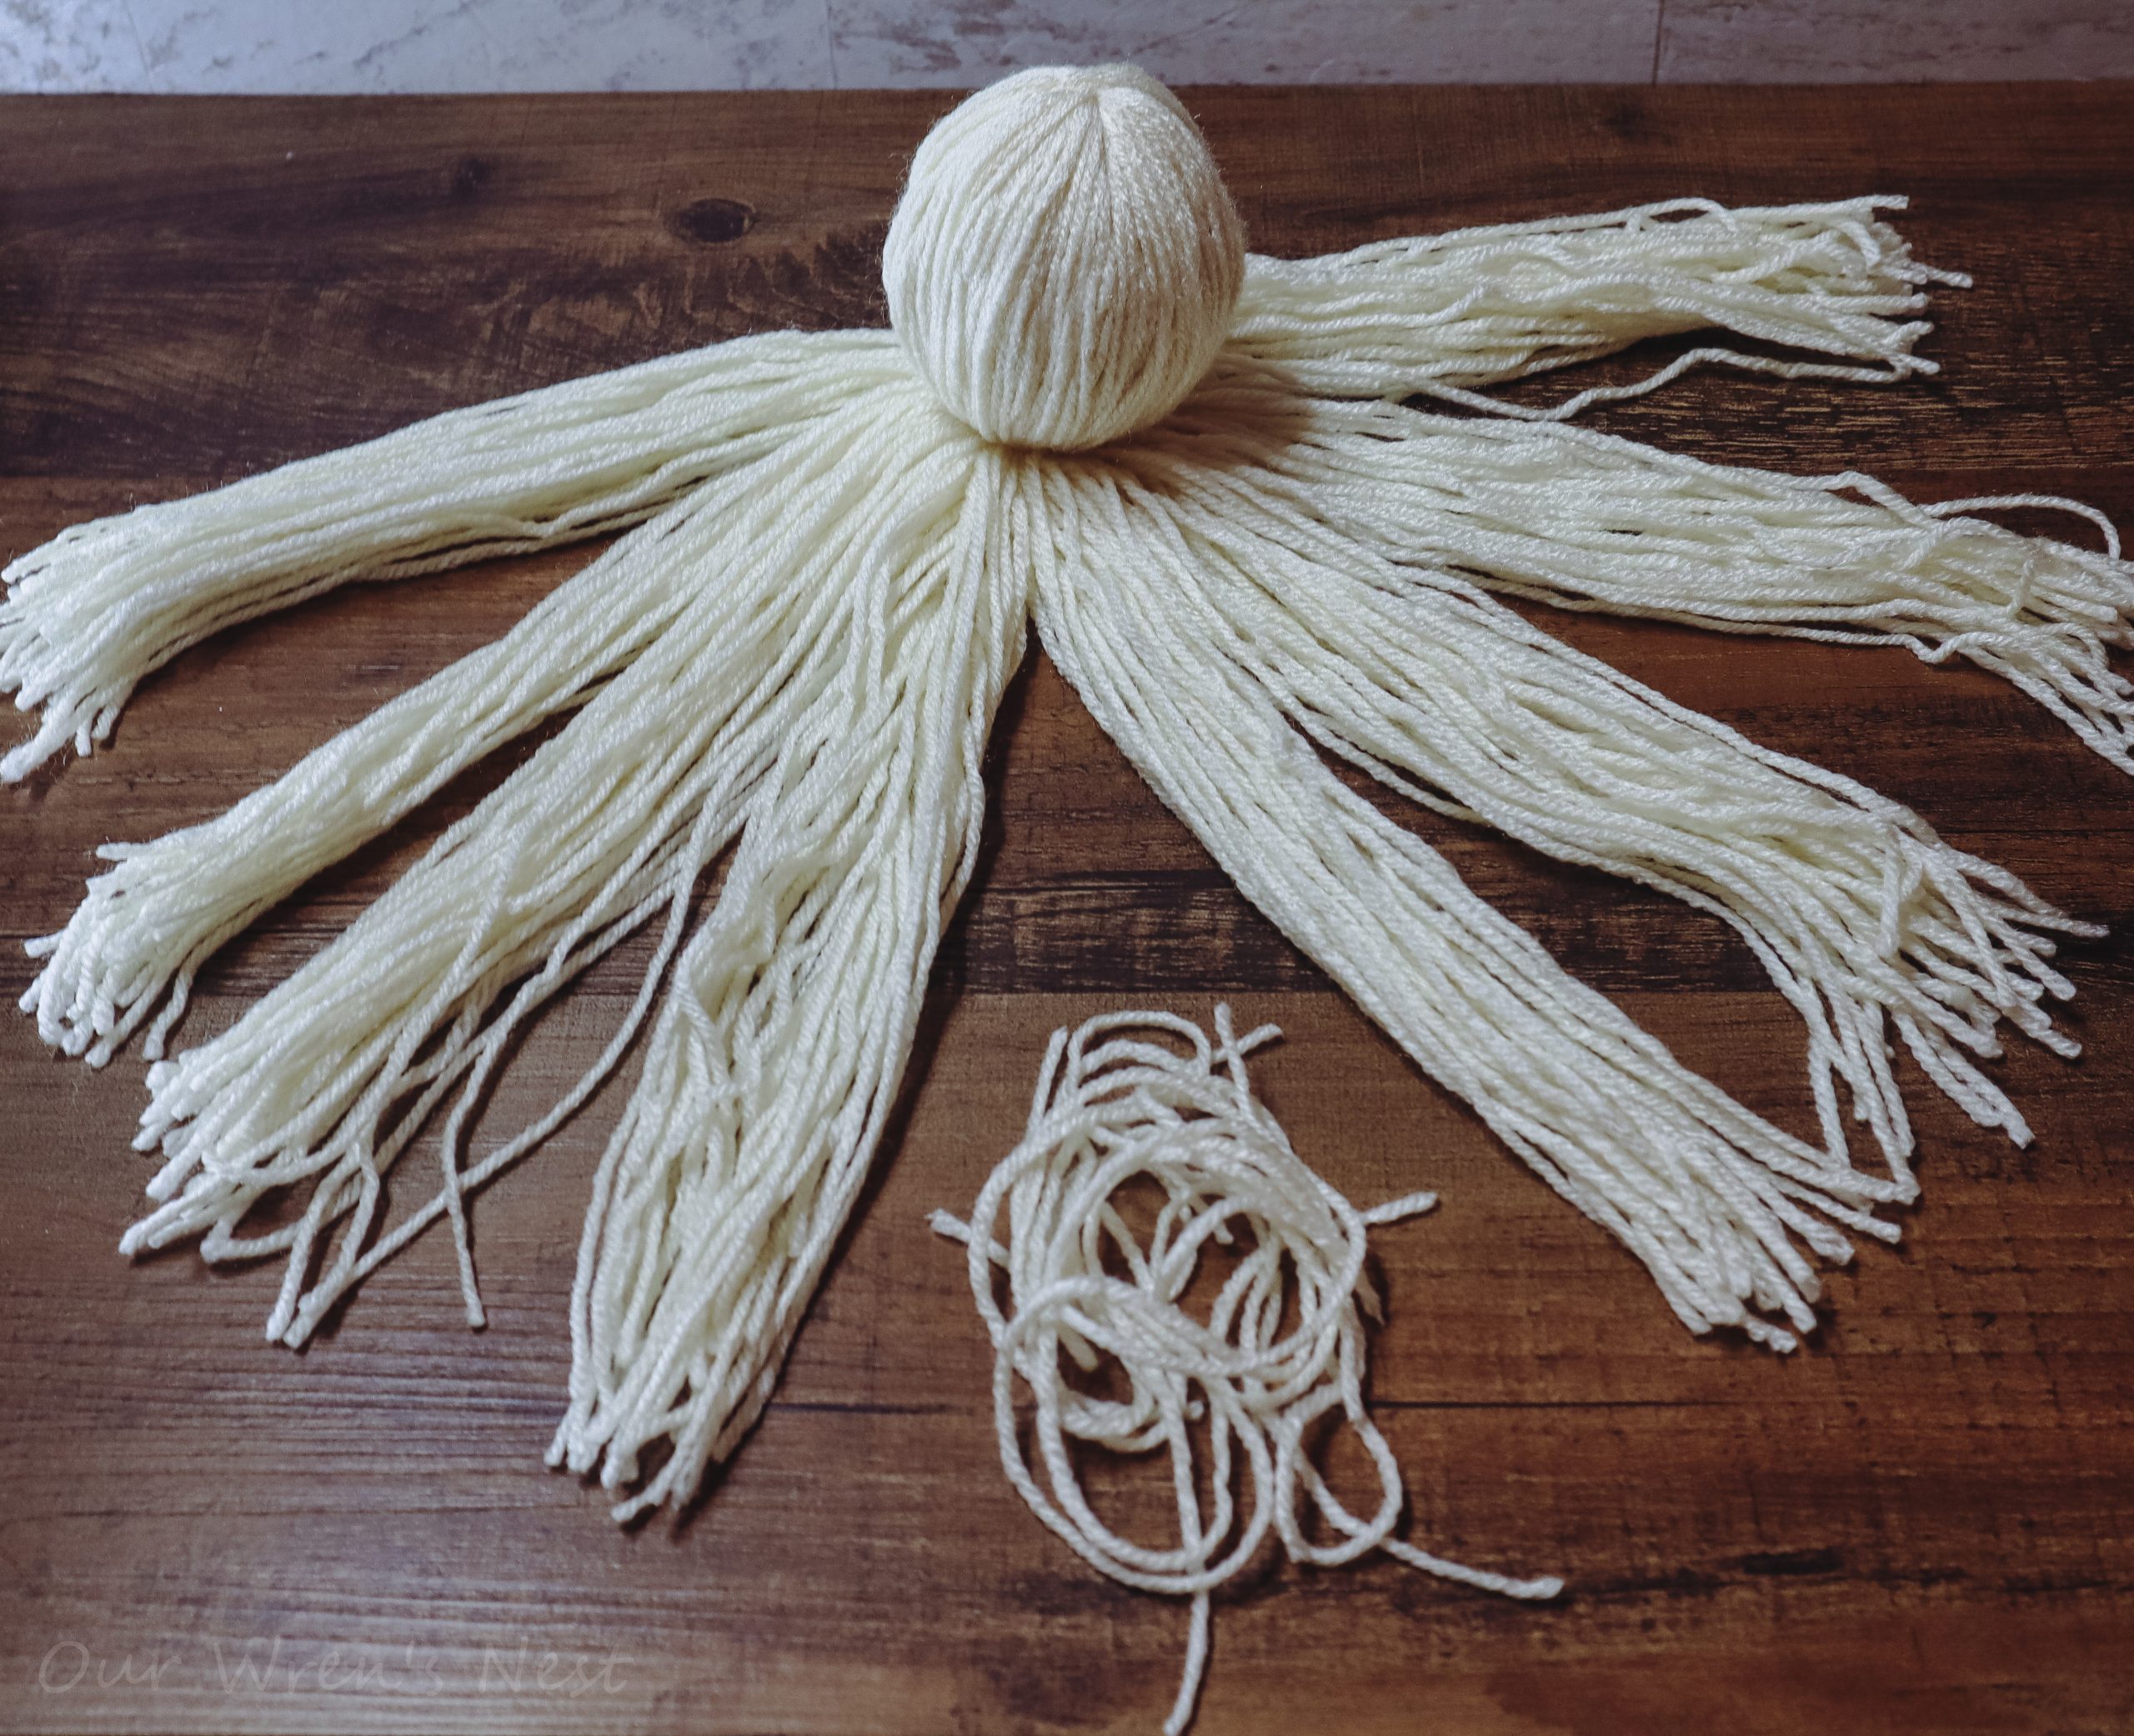

After you have separated your yarn, start to braid each of the sections, creating beautifully braided tentacles! Tie off the braids using a piece of 5-inch yarn. You can use a simple knot or my Grandma likes to make little bows, so cute! Don’t worry if your ends are a little rough right now, you can clean those up in just a bit.


It’s Alivvveeeeee!
To finish up your yarn octopus, carefully using your scissors trim the ends of the tentacles. We like to leave about an inch where we have tied off the braid. Trim any extra pieces of yarn that may have snuck in while braiding, and cutting yarn in the beginning.
Lastly, add your octopus face! This is where your new friend really comes alive. The traditional pattern has the mouth being a cute little heart shape and simple eyes. You can get as creative as you would like with this part. Give your yarn octopus a truly unique look!

Such Great Memories!
Hopefully, we have given you some inspiration to make a special yarn octopus friend of your own. This project has so many great memories for me, and we hope you make your own memories as well!

Be sure to sign up for our newsletter so you don’t miss out on any of our adventures to inspire your own adventures!


Meg says
My Aunt Nancy had a braided octopus on her bed. I recall it having an embroidered face. I don’t remember the head being styrofoam. My sister and I both think it was something else when you turned it over. Any idea why it could be??? Aunt Nancy is deceased. We want to make one for my granddaughter.
OurWrensNest says
I have seen a few different options for the head. You can use a ball of scrap yarn that has been wound up, some will ball up cotton batting to make the head shape, which would make the head super soft. You can use a ping pong like ball wrapped in yarn. When I was kid we even used some newspaper wrapped in yarn. Hope these ideas help you! What a great memory!