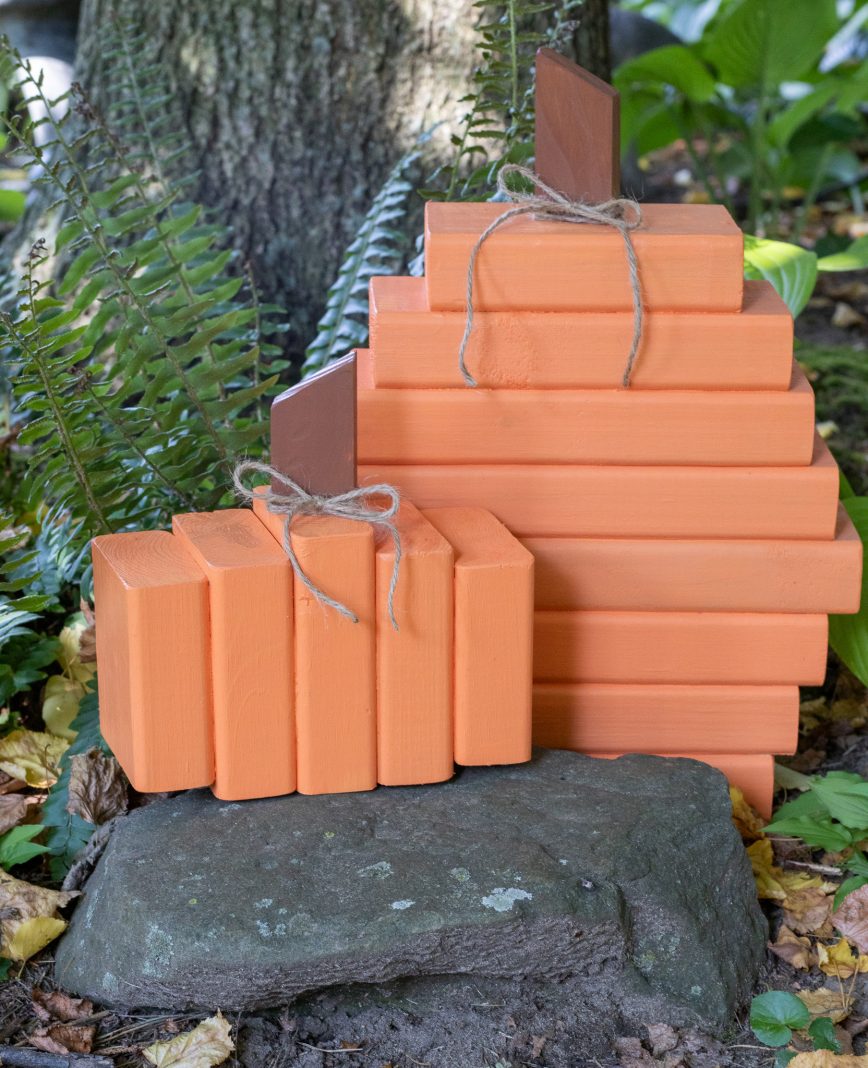
Use up those 2×4 scraps by making some fun pumpkins!
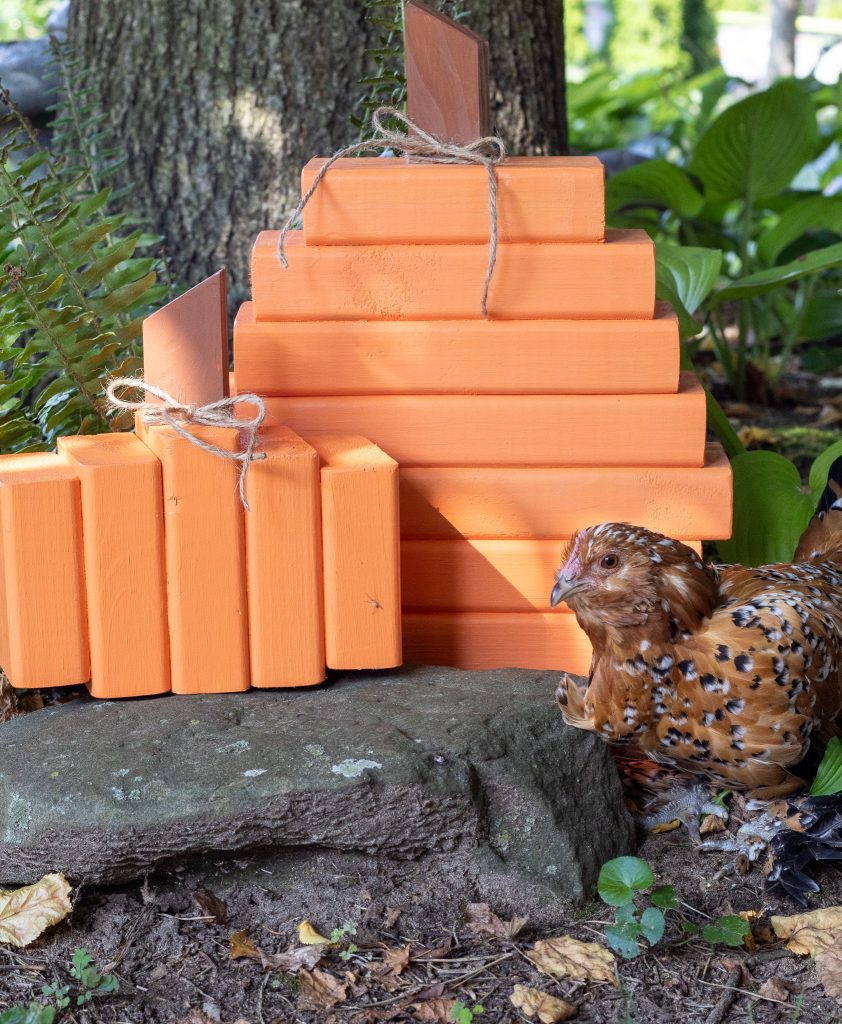
After discovering we have 1 too many 2×4 scraps in the garage, we decided to find some fun projects to use up the scraps! First up is 2×4 pumpkins! A beyond easy project that you can adjust to the wood scraps you have on hand!
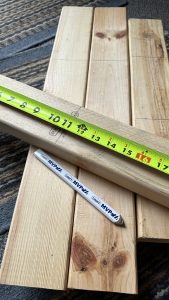
Supplies needed
To make this project you will need some wood scraps, we used 2x4s and 1x2s. Here are the cut lists for the 2 pumpkins we made. Feel free to adjust the size of your pumpkins, just be sure to keep the measurements equal. We kept an inch between each piece of our big pumpkin, and 2 inches at the top to give it that pumpkin shape.


Tools you will need include a miter saw (or chop saw that can cut 2x4s), a drill for your screws (if you are screwing your pumpkins together), a tape measure, and pencil. To attach your pumpkin pieces together a good quality wood glue is super important, and to make ours extra strong we used 2″ wood screws. Twine or ribbon is optional to add a bow to your pumpkins.
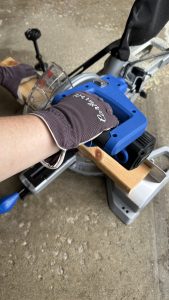
Cutting and sanding
After you have gathered your supplies, and tools, it is time for pumpkin creating! Start by using the cut list above, and cutting your 2x4s. You can create a stem with scrap 1x2s or even a piece of a branch from outside!
When the wood pieces are cut, you can sand the rough edges. How much you sand depends on how “rough” you would like the pumpkin to look.
it is pumpkin time!
Assembling your pumpkins is the best part! There are many ways out there to stack 2x4s to create a pumpkin shape. Our lists above show how to stack the 2x4s to get the shapes we created. On the big pumpkin stack your 2×4 evenly, working your way up. You can use just wood glue to build your pumpkin but to be sure the pumpkin is really durable, you can add a screw at every layer. We staggered the screws near the center, and the final screw was in the center using the stem to cover up the screw hole.
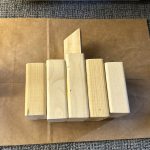
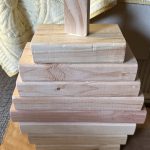
For the smaller pumpkin, we ended up just using wood glue, and a clamp, allowing it to dry overnight.
After the glue is all dry on the pumpkins, paint your pumpkins with your favorite pumpkin color. The Valspar paint worked great for us! We also like to use the sponge brushes for an even coat of paint.
Time to Enjoy!
After your pumpkin is all dry, add a bow if you would like and display your hard work! Such a fun and easy project anyone can do! Check out our Instagram reel for our project in action!
