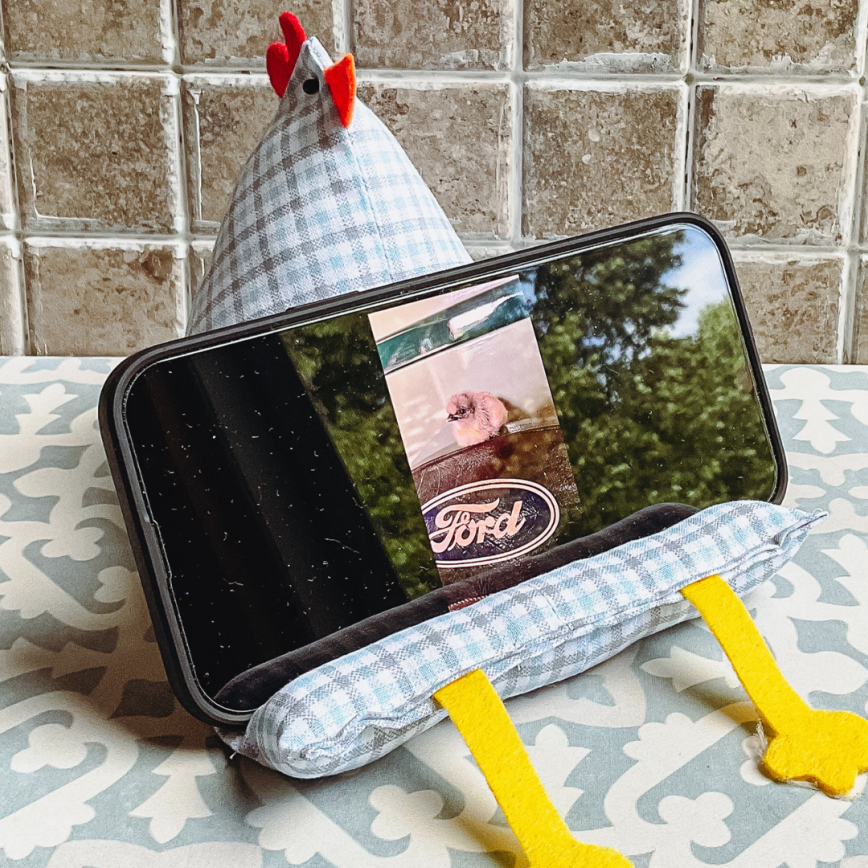
Display your phone in style with this fun chicken-inspired cell phone holder!
I love having a super organized desk, everything has its own special place. One problem I’ve had recently though is a place to set my phone. I do a lot of filming with my phone, so I need it handy quite often. I went on a search for a good cell phone holder, and I couldn’t find anything I liked. Either the price was way too expensive, or the stand was just too complicated. I wanted something fun! After looking around some DIY websites, I came across how to sew your own cell phone holder, but I had to chicken-fy it! Let’s look at how to make a fun chicken cell phone holder!
Gather Your Eggs – Supplies!
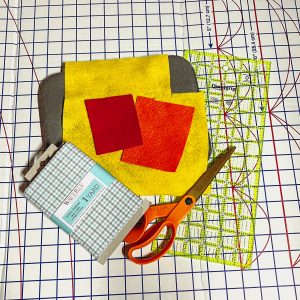
One thing that was super important to me when making this project was that I needed to have the items around the house or find the supplies very cheap. This project doesn’t require a lot of supplies and is a great way to use up the extra fabric around your house. You will need:
- 1/4 yard of cotton fabric
- Small pieces of felt in red, orange, and yellow (about 4″x 4″ squares)
- 2 cups of uncooked rice
- A small bag of fiberfill
- Sewing machine and thread. You can hand sew this project as well.
- Iron and ironing board
Preparing Your Fabric
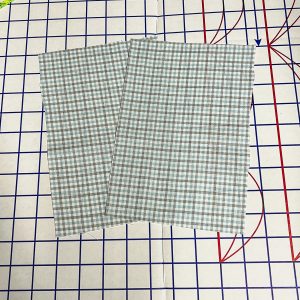
Prepare your fabric by ironing the cotton fabric and getting everything all cut-out. You will need to cut from your cotton fabric, 2 rectangles that are 6″ across, and 9″ long.
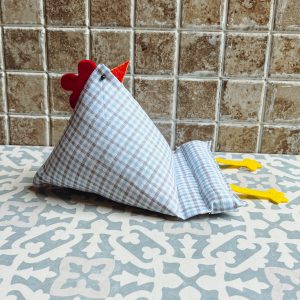
You will also need to cut your felt “beak” and “comb” for your chicken. Take your orange felt piece and cut a triangle beak about 3/4″ to 1″ from top to bottom. Create a “comb” that is about 1 1/2″ long and about 3/4″ tall. You can completely adjust the sizing as you would like. Feel free to have fun with the comb. We just did 3 simple bumps, but every comb is different!
Sewing Time!
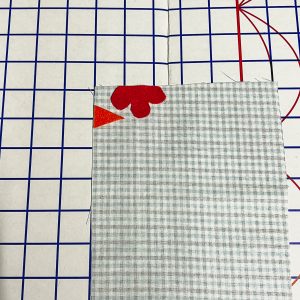
After your fabric is all cut out, it’s time to start sewing. Take 1 of the cotton fabric rectangles, and lay it on a work surface right side up. Next, you are going to lay the beak and comb onto the fabric.
You want to line up your beak and comb in the upper left-hand corner of the fabric, like in our photo above. You are lining up the straight edges with the edge of the fabric, coming down an inch from the very corner.
Next, lay your other piece of cotton fabric on top with the right side of the fabric facing down. Pin your fabric as needed, especially where the beak and comb are.
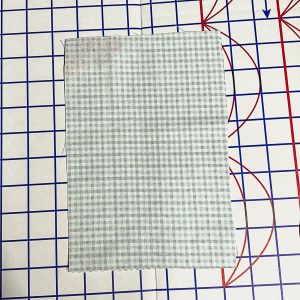
Using your sewing machine, you are going to stitch using a straight line stitch and 1/4″ seam allowance. Stitch all the way up the left side, and across the top of your rectangle. On the right-hand side of the fabric, stitch about 2 inches, and stop. Leave a one-inch opening, and then continue to stitch down the right-hand side. Be sure to leave the bottom open.
Turn, Turn, Turn
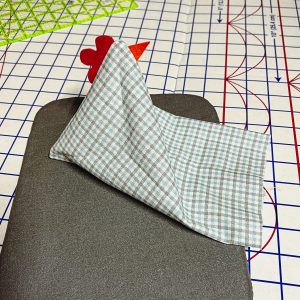
Before we turn our fabric right side out, we need to do a little ironing. You want to pinch your fabric towards the top and open the fabric to make a point at the top (use our pictures to help you). On the “front” of the fabric, you will just see the seam and the point.


When you flip the fabric over, you will see the rest of the triangle. Using your iron carefully iron your seams open.
Now is the super fun part, give your fabric a turn, making sure to push those corners outward. Look your chicken is starting to come alive!
Making the Base
Before we can stuff our chicken cell phone holder, we need to make a base so your phone (or tablet), doesn’t just slide off.
Measuring from the unsewn bottom, carefully mark the fabric at 3 inches. I like to use disappearing ink pens when marking sewing projects.
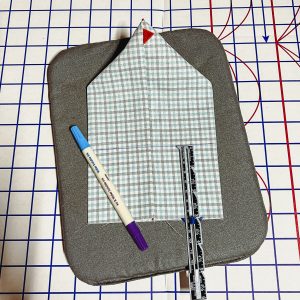
Stitch a straight line, across where you marked the fabric at 3 inches.
We are going to mark the fabric again, only this time we are measuring from the sewn line down 1 inch.
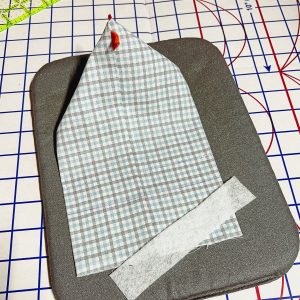
Before you stitch the second line, you can add some stabilizer to the “flat” portion of your holder. We used a piece of felt fusible interfacing. You can use something stiffer, like a thin piece of cardboard.
Stitch across your 1-inch line. You are almost done!
Stuffing Time
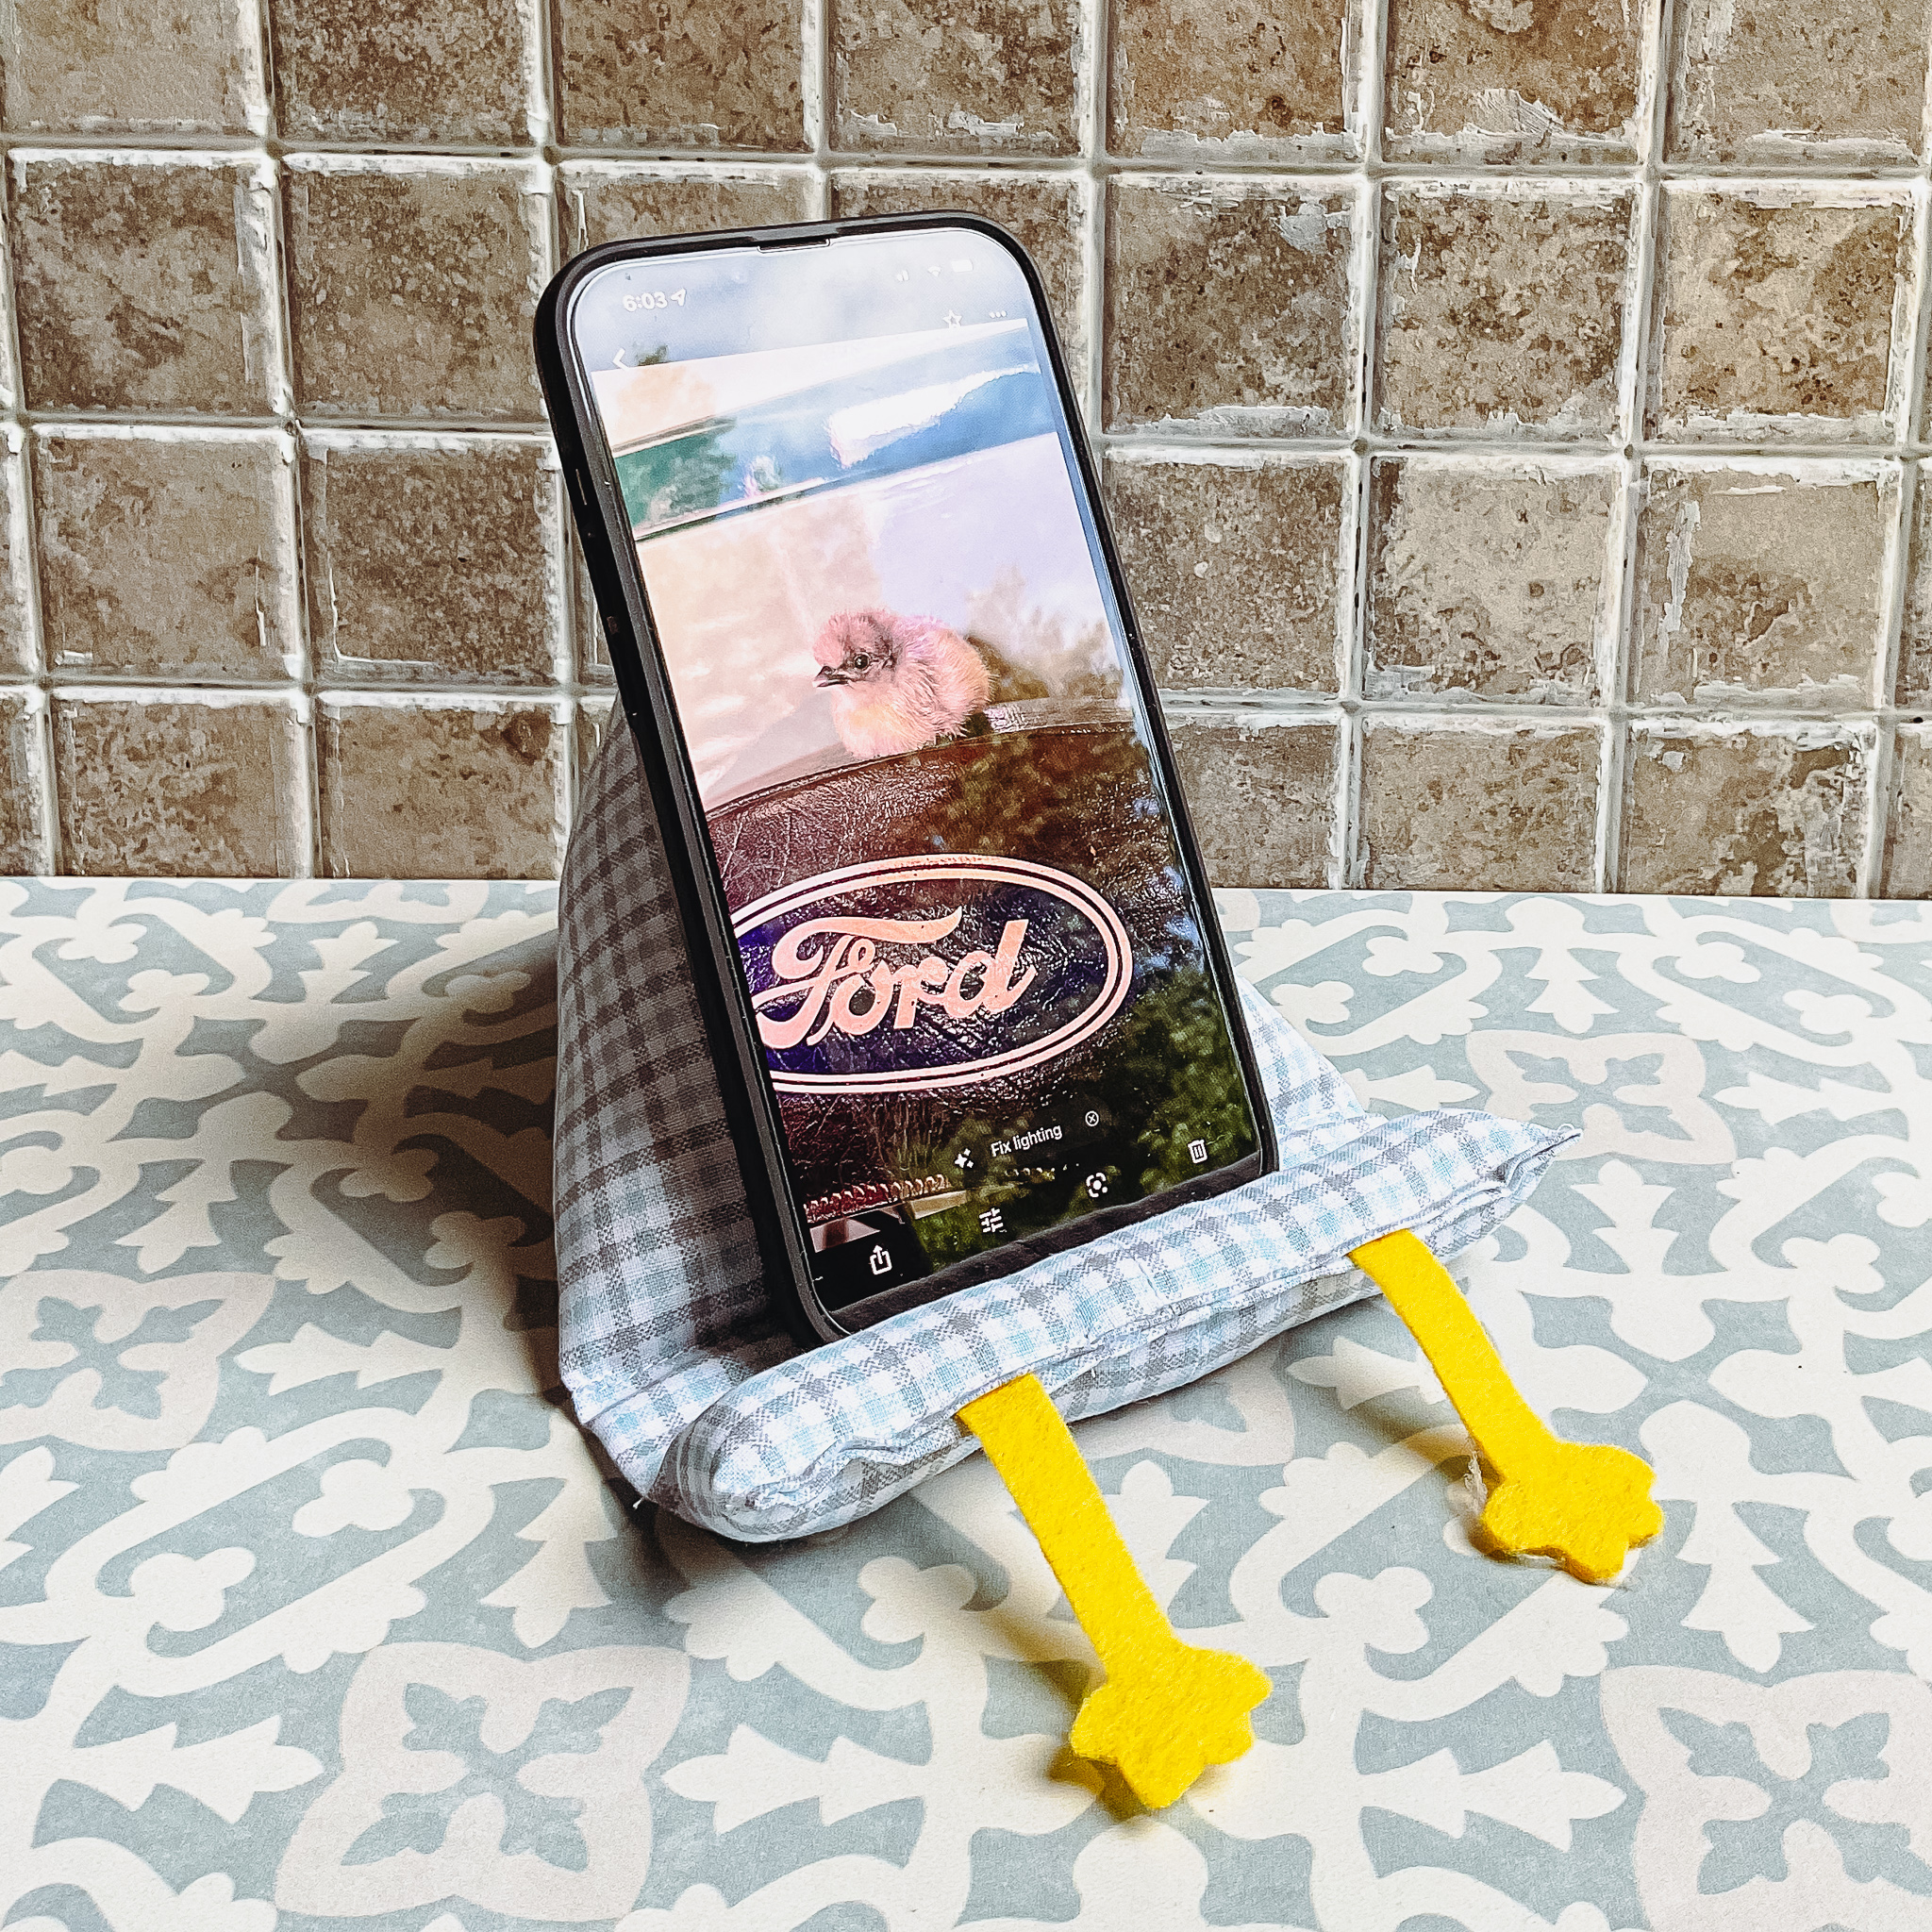
This is my favorite part when you get to stuff your chicken, and really bring it alive. At the very bottom, we are going to make a “bumper” to hold your phone in place. This is the part too, where you can add some fun chicken legs!
To make our legs we drew out a leg with a chicken foot (and you can design however you would like). The leg measured 3″ when we were done cutting out from the yellow felt.
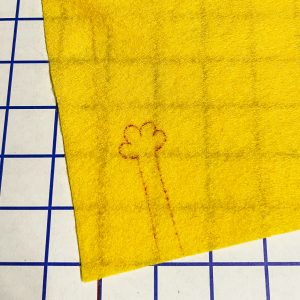
At the end of your fabric, turn the fabric in 1/4″ and iron it flat. Pin the legs into place about an inch from each edge, and stitch across, leaving a 1″ space in the middle. When you are done you should have a small hole for stuffing, and the legs should be secured into place.


Using some fiberfill, carefully stuff the bumper of your chicken cell phone holder. Start by filling the very ends, and work until the middle. You want this to be a bit more full. When you are all done stuffing, hand stitch the hole closed.
It’s Aliveeeee!
To stuff your chicken, flip the chicken over, and fill the hole we left during sewing in the beginning. You want your chicken to be stiff, with a heavier base so it stands up. We like to fill the top of the chicken with fiberfill, and the bottom 2/3 with rice.


Hand stitch the bottom of your chicken closed, and trim any extra threads that may be left. It is totally optional but feel free to decorate your chicken cell phone holder with eyes, maybe a hat or scarf? Whatever you would like. Make this chicken friend your own!


After you are all done, step back and enjoy your amazing job well done! Proudly display it on your desk or anywhere you need a little help holding up your phone!


Hopefully, we have given you the inspiration to make a chicken cell phone holder of your own! This is such a fun, beginner’s sewing project. You won’t be disappointed with your new chicken desk friend!
