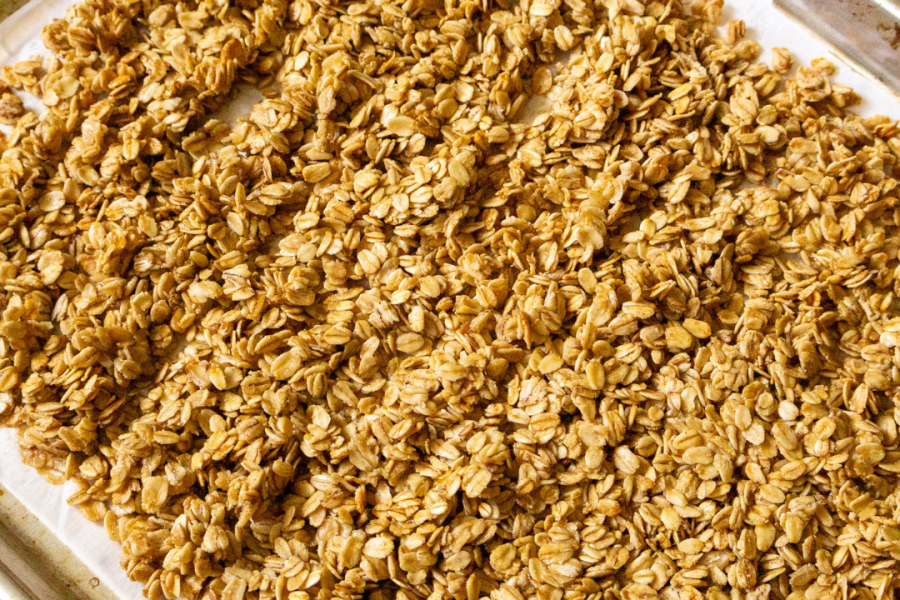
Fall is here and its time for all the adventures fall has to offer!
Throwback to one of our very first blogs here at Our Wren’s Nest!
As soon as the first leaf hits the ground, I go into full fall mood. I just love everything apples, pumpkins, and the harvest! It is an annual tradition of ours to go apple picking at a local orchard. Someday we will have to our own orchard, but until then we enjoy some of the local farms in our area. It never fails we always end up bringing home too many apples. Looking at my large basket of apples, I have a whole list of recipes I like to use. One of those recipes is my Easy Maple Apple Pie. Don’t get me wrong I love a traditional apple pie with a handmade crust. This recipe though is great for when you short on time, but want a delicious apple pie.
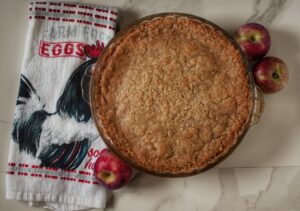
To get started you will need to peel, core, and slice 6-8 medium size apples. You will want to have about 6 cups of sliced apples when you are all done. If I’m short on time, I peel and core my apples then put them through the food processor slicer. You won’t have the most traditional apple pie slices, but this is not a traditional recipe so why not! After you have sliced your apples, give them a quick toss in 1 tablespoon of lemon juice, this will help prevent your apple from turning brown.
The crust for this pie is a push in the pie pan. I learned about the push in the pie pan from my very first Betty Crocker cookbook. Betty and I go way back, and I usually fall back to those original recipes. I have updated my push in the pie pan crust recipe a bit, but still the same quick and easy concept.
To make this recipe even more easy, you can do a lot of your mixing with the food processor. Make the “crust” you are doing with 1 cup all purpose flour, 1/2 teaspoon salt, 1/2 cup butter (cut into chunks), 1 tablespoon sugar, and 2 tablespoons water, and put all of those ingredients into your food processor. You will want to pulse this mixture until the mixture also looks like sand. The pieces of butter should be very small, and more incorporated into your mix.
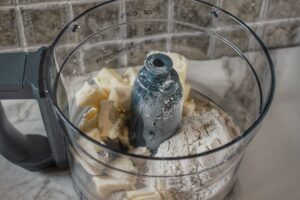
Now pour your mixture right into the middle of a 9 inch pie pan (we love our vintage pans) for your crust. You want to work towards an even thickness across the bottom of the pie pan and form up the sides of your pie pan. I like to leave 1/2 inch on the top of the side of the pie pan. With your oven preheated to 350 degrees Fahrenheit, bake your crust for 15-20 minutes until golden brown. After your pie crust is done baking, you can adjust your oven to 375 degrees Fahrenheit.
To make the pie filling, take your 6 cups of sliced apples, and stir together with 3/4 cup of sugar, 2 tablespoons all purpose flour, 1 teaspoon cinnamon, and 1-2 tablespoon of maple syrup (use the real stuff!). After you have fully mixed your filling ingredients together, pour the filling into your prepared pie crust. Be sure to smooth out the filling so it is even in your pie crust.
The topping of this pie is a crumble top. Back to the food processor and mix 1 cup flour, 1 cup brown sugar, and 6 tablespoon butter that has been cut into cubes again. Pulse this mixture until it again resembles a more sandy texture. I know its fall but think of the beach. Gently a little at a time, sprinkle this topping of top of your pie filling. You make to make sure to cover the entire top of the pie. I like to give it a good tap to seal everything in.
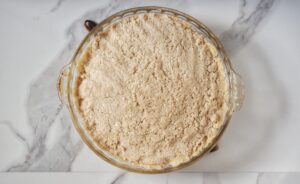
Bake your pie for 25 minutes with a piece of foil gently covering the pie. After the 25 minutes, remove the foil and bake another 20-25 minutes or until the top is golden brown. After baking allow your pie to cool for at least 2-3 hours. This is the hard part I know, but the longer the pie sits, the more thicker your amazing pie filling will be.
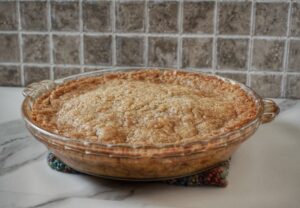
Cut yourself a large slice, grab some whip cream and enjoy!
Happy Fall!


