Homemade Yogurt Tastes Amazing and is Surprisingly Easy to Make!
A few years ago I learned that you can make your own yogurt. I was so super surprised and couldn’t believe how much better it tasted than commercially made yogurt. You can tailor homemade yogurt to your taste, and it’s beyond easy to make. There are many different recipes out there to make homemade yogurt, and I’ve tried a good amount of them. The recipe I’m sharing today has become my favorite method and makes just the right amount of yogurt for me to enjoy within 2 weeks.
With this recipe, your yogurt will have the texture of traditional yogurt, not Greek yogurt. To make homemade Greek yogurt, there is a straining step involved but that’s for another day! This recipe will fill 6 – 16 oz wide-mouth mason jars. You may end up with a little extra you can pour into a small jelly jar. You can easily double this recipe and feel free to use any size mason jar you would like.
Let’s Make Yogurt!
The supplies needed are 1/2 gallon whole milk and 1/2 cup yogurt “starter”, that’s it! If you use milk that is not whole, you will not get the same outcome when making your yogurt. I suggest looking for a local supplier for your milk, which makes the yogurt even better. I like to use local whole milk that is non-homogenized and it comes in the traditional glass bottle.
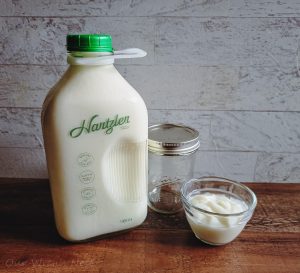
For your yogurt starter, you can use 1/2 cup plain yogurt you pick up from the local grocery store, or you can save out 1/2 cup of your homemade yogurt. If you use store-bought yogurt for your starter make sure it is plain if possible (although I’ve used vanilla with no issues), and that it is regular yogurt, not Greek yogurt.
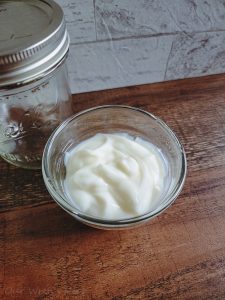
If you are using some of your homemade yogurt as a starter, it is best to use it if the yogurt is 7-10 days old. After that, your starter could start to be weak. The second option is great if you get into a routine of making your own yogurt, depending on how fast you eat your yogurt by day 7, it will be time for another batch.
Now that you have your ingredients together, it’s time to make your yogurt! The process is very simple – bring the yogurt up to temperature. Cool it down, add your starter, and then let your yogurt rest. To heat up the milk I like to actually use my pressure cooker on saute. You can also use a larger-sized heavy-bottomed stockpot to warm up your milk.
Carefully pour your milk into the pot you are using to warm up your milk. Slowly bring your milk up to temperature. You want your milk to be between 185 and 195 degrees Fahrenheit. Make sure to watch your milk while it’s heating up very closely, stirring often so it does not burn on the bottom of your pan. A little note using a digital thermometer is very helpful for checking the temperature of your milk.
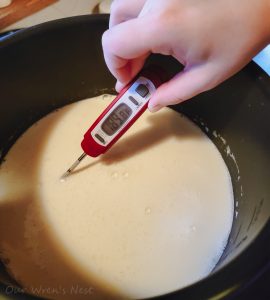
After your milk has reached between 185 and 195 degrees Fahrenheit, now it’s time for a little cooldown. If your milk is too warm, the amazing cultures in your yogurt starter won’t make it! I like to pour my milk into a separate bowl sitting in some ice water. You can take the pan you warmed the milk up in, and place that into an ice bath as well. The goal is to get your milk to 120 degrees Fahrenheit.
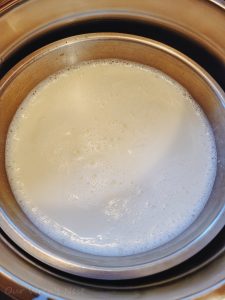
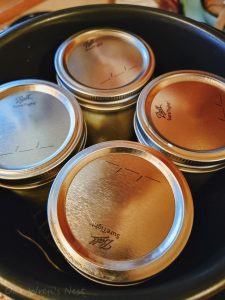
While your milk is cooling, prepare where your yogurt will do it’s incubating and resting. There are a ton of different ways to incubate your yogurt. I like to pour my yogurt right into the mason jars and use my pressure cooker on the yogurt setting. With this method, I add my trivet into the cooker, and 1 cup of water, then I place my jars inside and secure the lid.
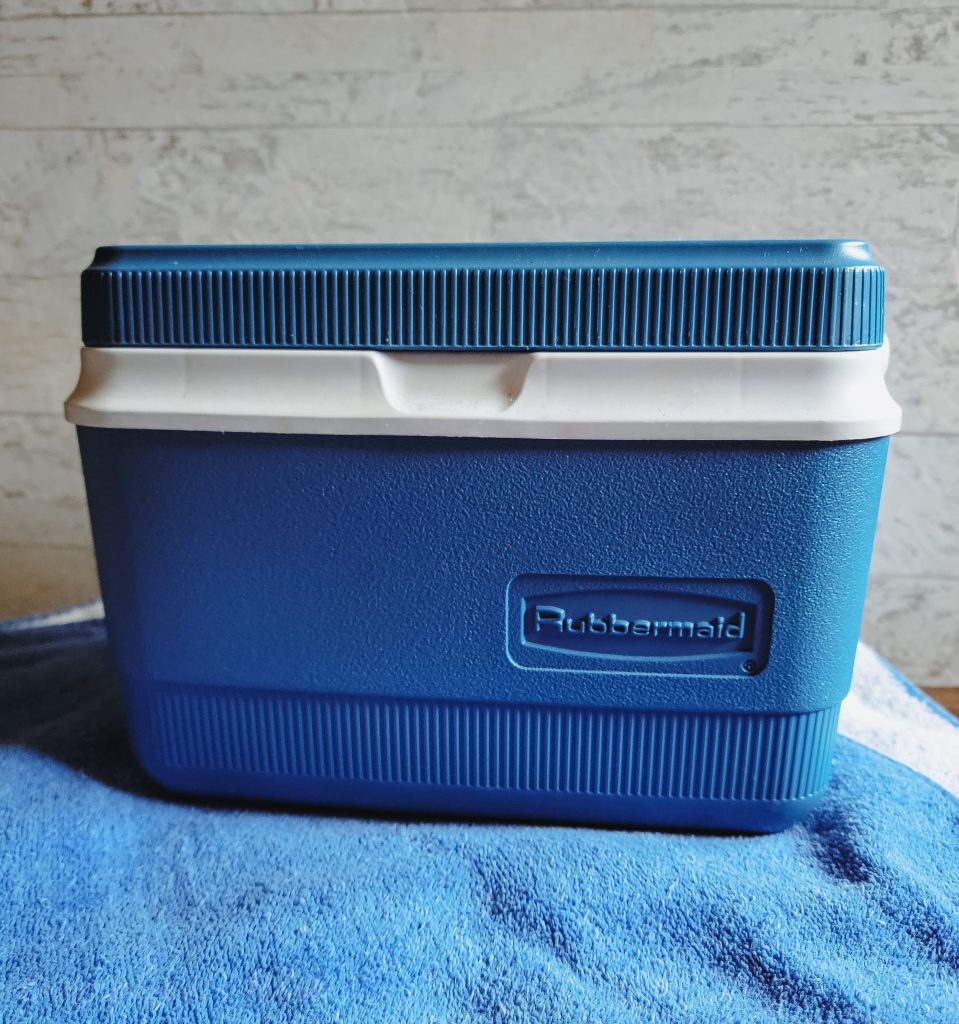
Another great option is to use a cooler to incubate your yogurt. This is wonderful if you don’t want to run your cooker all day. For this method, you will place your jars into the cooler, and fill the cooler with water that is 120 degrees Fahrenheit. If you have an electric kettle, it helps to make this method even better because you can set the temperature of the water.
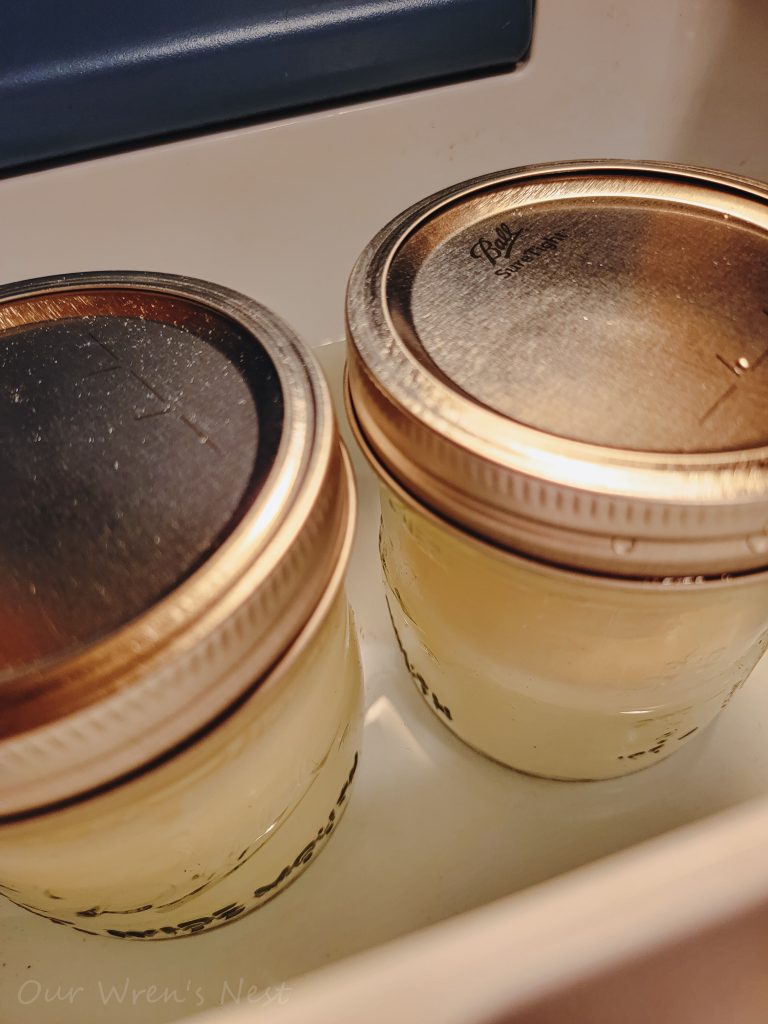

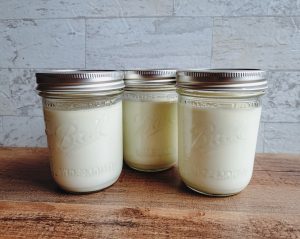
After your milk is cooled to 120 degrees Fahrenheit, add 1/2 cup of the milk to the 1/2 cup of yogurt starter. This tempers the starter and gets it ready to be added to the rest of the milk. Pour the starter into your milk and mix thoroughly. Pour the yogurt mixture into the mason jars you are using, leaving about 1/2 inch headspace on the jars. Be sure your jars have been sanitized properly ahead of time. Place your jars into your pressure cooker or cooler, and start the time for incubating.
Shh…..now it’s time for the yogurt to rest and multiply! Allow your yogurt to incubate for 6-8 hours. The longer you incubate your yogurt the more “bite” it will have. I found the 6-8 hour mark to be a really good place.
After the yogurt has incubated, place the jars into the fridge overnight. The next morning, you will have some amazing homemade yogurt to enjoy! You should notice the yogurt has thickened quite a bit and it has the traditional yogurt texture. Homemade yogurt lasts about 2 weeks in your fridge.
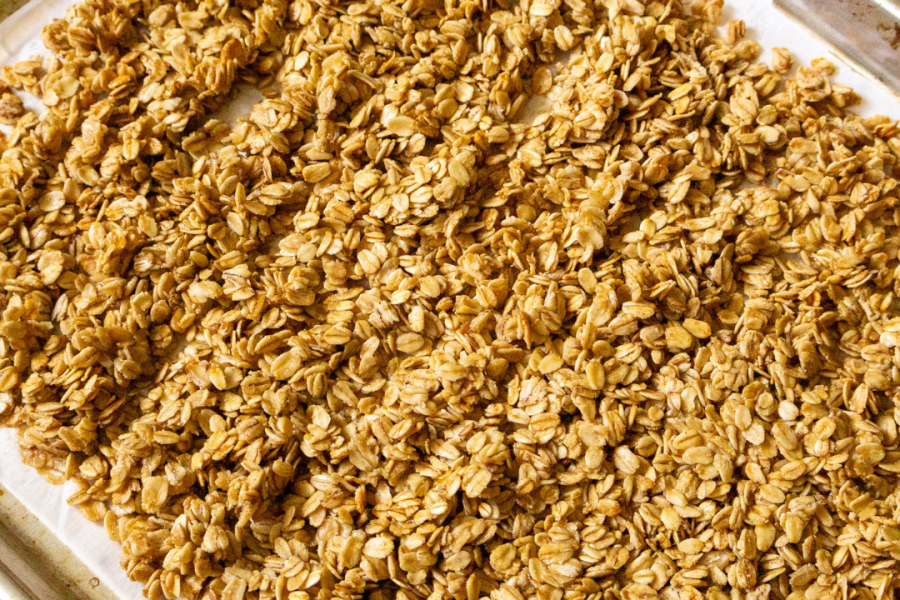
I like to flavor mine with a touch of honey or maple syrup. Fruit tastes great with homemade yogurt. You can add some granola, or your favorite cereal for a fun treat. I always flavor my yogurt after incubating. Sometimes adding sugar can slow or stop the incubating of your yogurt.

Hopefully, I’ve given you some inspiration to give homemade yogurt making a try. It is very rewarding, and you will never go back to store-bought yogurt again! Be sure to subscribe to our newsletter below so you don’t miss out on our great adventures!
