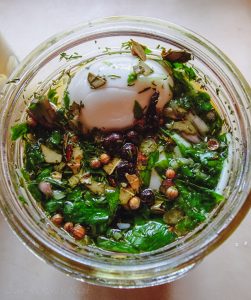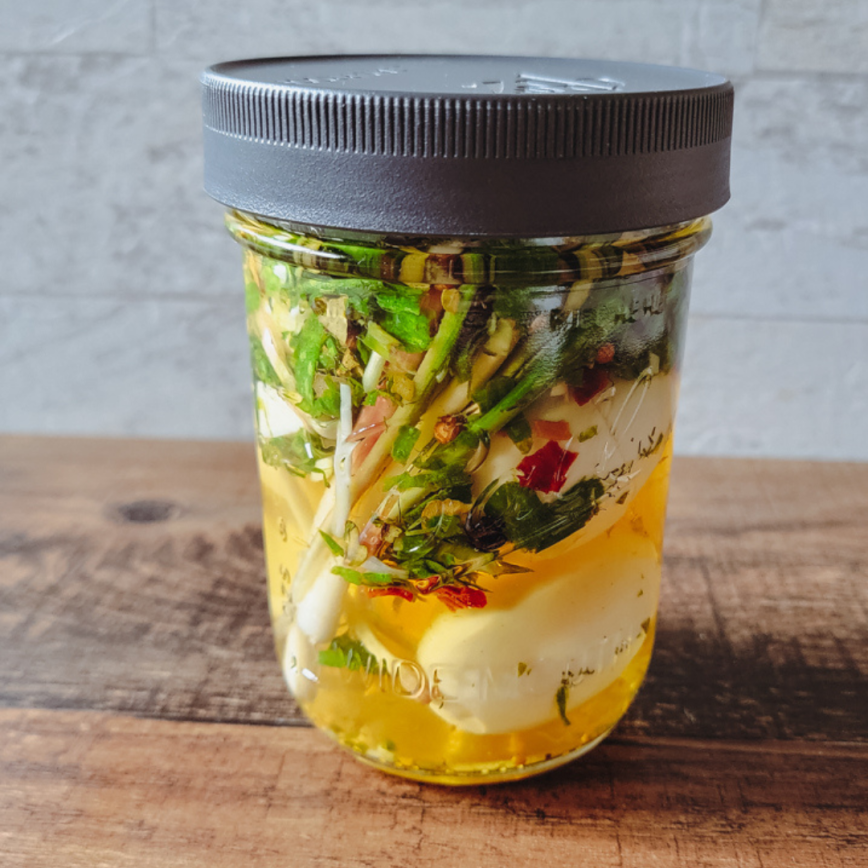
A Sweeter Take on Pickled Eggs!
Today we are talking about pickled eggs. Wait, don’t go! Poor pickled eggs sometimes don’t get any respect! With the proper recipe, pickled eggs can be such a great treat. We started making pickled eggs a few years ago when the chickens started laying a ton of eggs in the Spring.
We tried a few different recipes, and some did not taste good at all. Some recipes had too much vinegar, and others just tasted plain yucky. We were determined to find the perfect recipe! As I usually end up doing I started to combine my favorite ingredients and make my own recipe.
This recipe we finally found we just loved is actually called “Perfect Pickled Eggs” in my recipe box. This recipe combines the pickled flavor with a sweet touch. To cut down on being overly onion-y, we use ramps in place of onions. What resulted was a mellow, but delicious pickled egg! It’s the perfect Spring treat when ramps are in season!
Gathering Ingredients
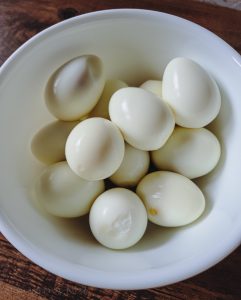
The first ingredient you will need is some hard-cooked eggs. You can use any egg from quail eggs to extra large chicken eggs. With farm fresh eggs, we like to steam cook them. This allows you to easily peel your eggs. This recipe is for about 10-12 eggs, but you can easily double this recipe if you would like to pickle more eggs. Hard cook your eggs, peel them and set them in the fridge while you work on the brine.
Other ingredients you will need:
- 1 cup Apple Cider Vinegar
- 1 cup Water
- ¼ cup White Sugar
- 1 tbsp Pickling Spice
- 1 ts salt
- 2-3 cloves of garlic, peeled and crushed
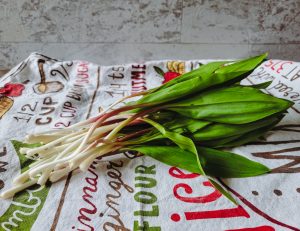
- 5-6 Ramp (wild onion) cut in half separating the bulb from the greens. You can substitute a ½ sliced onion, and even scallions for the ramps, the ramps will give you a more mild pickled egg.
- A few sprigs of fresh dill or 2-3 teaspoons of dried dill. (you can adjust this to taste)
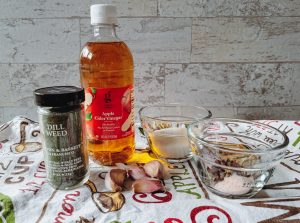
Making the Brine
The brine for these pickled eggs is very simple. In a small saucepan add the apple cider vinegar, water, sugar, pickling spice, and salt.
Bring the mixture to a low boil, and stir until all the sugar is dissolved. Remove from heat and allow the brine to cool slightly while you prep the jars.
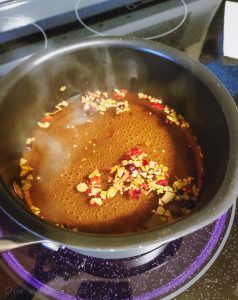
Filling The Jars
Depending on the size of the eggs you use, this recipe will fill a 1-quart jar, or if you are using smaller eggs (like the bantam eggs we used) will fill 2 half-pint jars. Place the cooled, and peeled hard-cooked eggs into the mason jar. Be sure to leave some space at the top of the jar. You want to be sure the eggs will be totally covered with the brine.
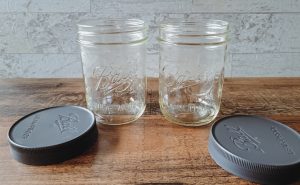
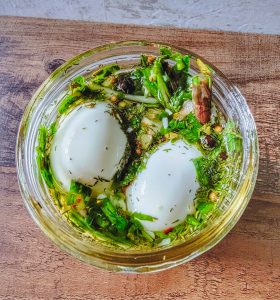
After the eggs are in the jar, you can add the crushed garlic, and dill into the jar. For the ramps, you can gently push those down about the eggs.
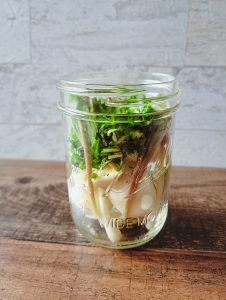
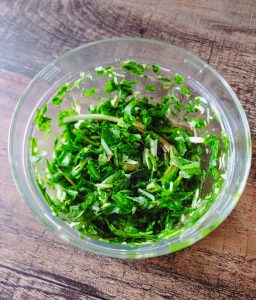
The extra “greens” from the ramps we like to mince and add into the jar as well. This adds some more ramp deliciousness to the pickled eggs!
Brine Time!
After your jars are full, it’s time to slowly add the brine to the jar. Carefully pour the slightly cooled brine over the eggs. We like to fill half, wait for the bubbles to settle, and then fill the jar the rest of the way. Be sure to leave some headspace at the top of the jar. Add a lid to your jar. We like to use the Ball plastic reusable lids for the pickled egg jars. The vinegar doesn’t break them down, and they are very easy to remove when it’s snack time!
Place your pickled eggs into the fridge, and allow them to “pickle” for 5-7 days, although we have been known to sneak a few earlier and they taste amazing! Once a day give your jar a careful shake to redistribute any spices that have fallen to the bottom.
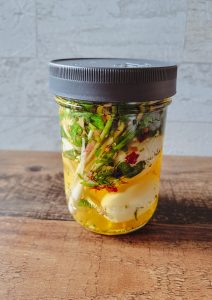
Perfect Pickled Eggs!
Pickle eggs beyond being a quick snack have many uses including adding on avocado toast, making super fancy deviled eggs, and spicing up eggs salad. There are so many possibilities!
Hopefully, we have given you the inspiration to try these pickled eggs! A sweeter, tastier version of the traditional pickled egg. This recipe can be adjusted to your liking, so don’t be afraid to experiment and have some tasty fun!
Be sure to sign up for our newsletter to stay up to date on our adventures! Happy pickling!
