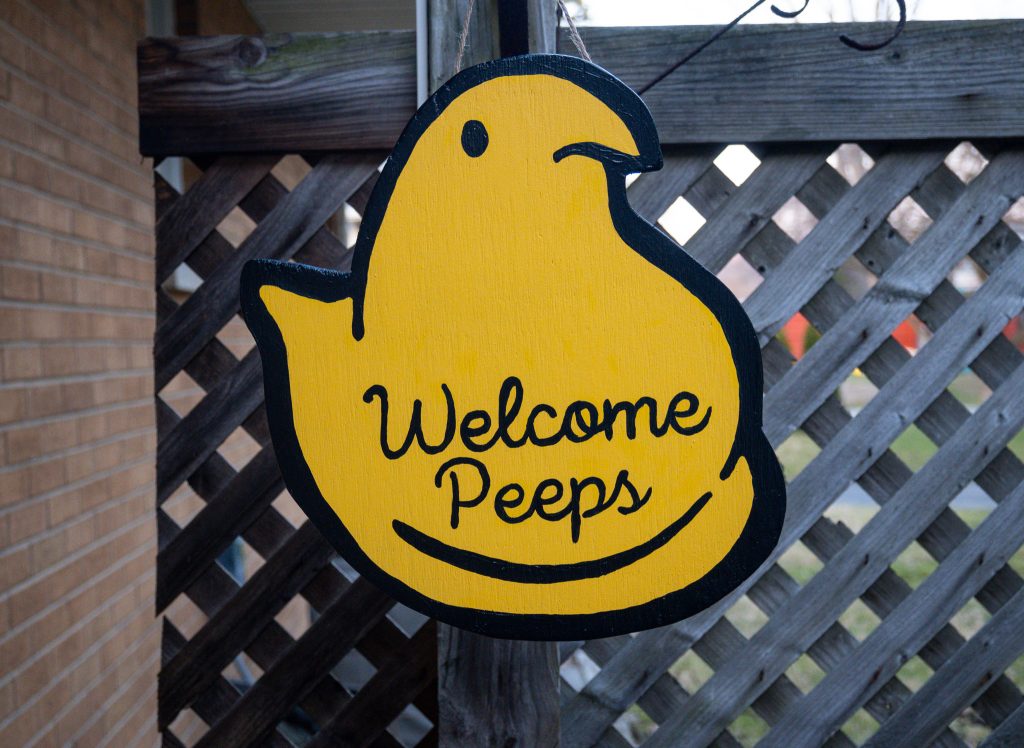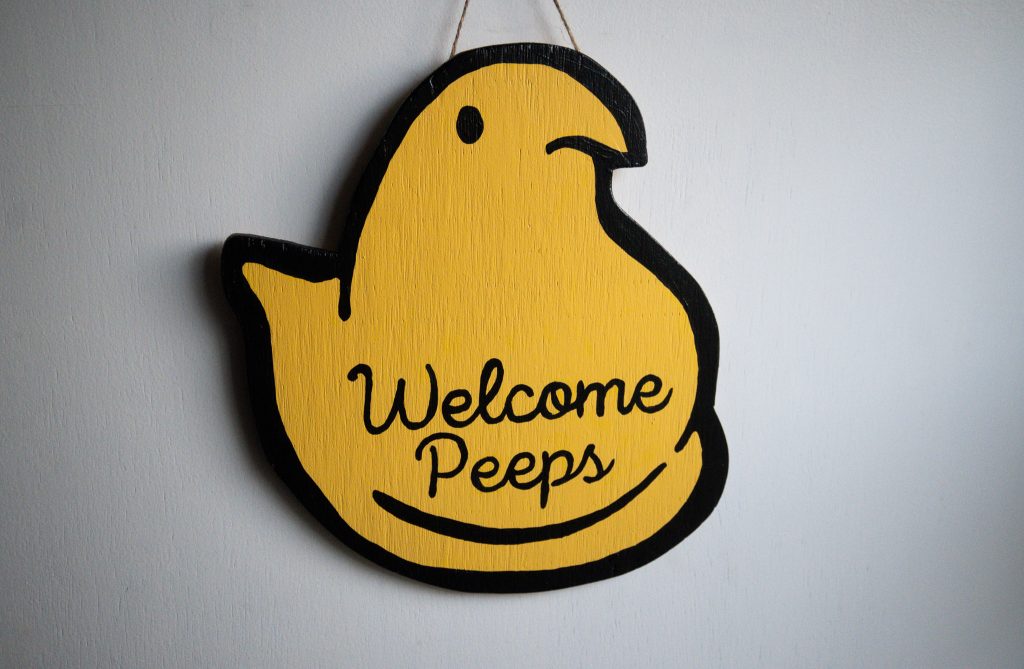
Create a fun Spring wall hanging inspired by those iconic marshmallow chicks!
Recently as I was going through my Spring decor, I noticed I need a bit of a refresh. It has been a few years since I’ve added something different. I got to thinking what would I like to add, and I looked over at a package of those marshmallow chicks. Naturally I love chicks, and I’ve always had a little obsession with Peeps, and their fun shapes!
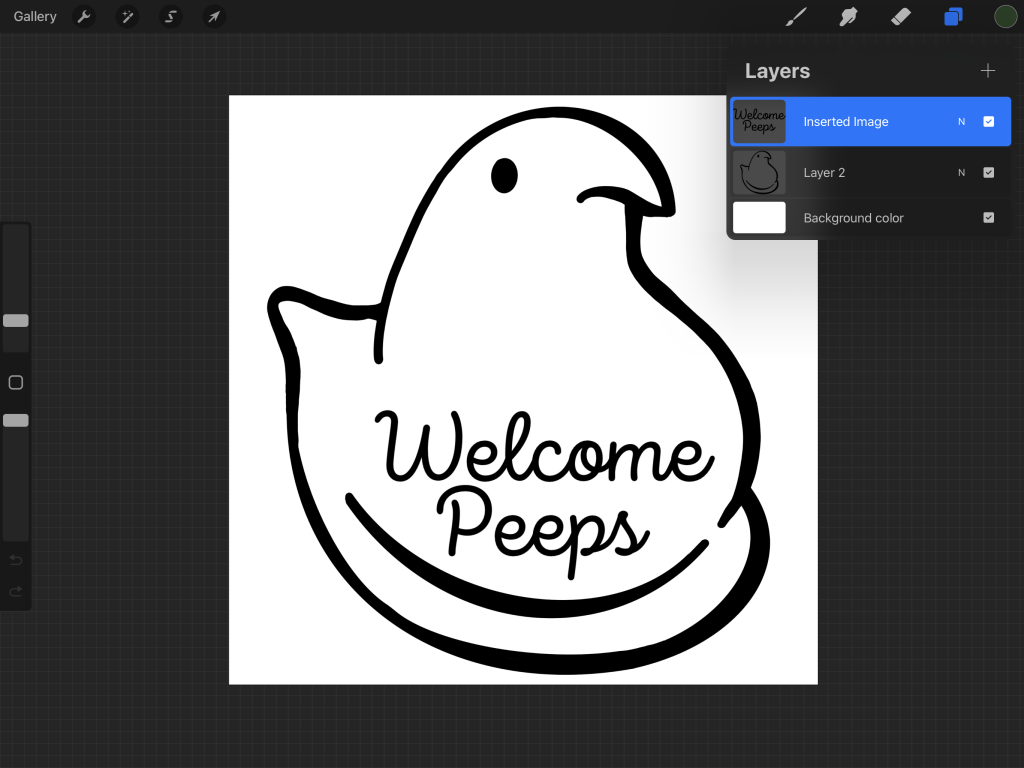
I searched for the perfect wall hanging, and I couldn’t find it anywhere. Nothing like what I wanted. So I went back to the drawing board, literally! I decided I was going to make my own wall hanging! I grabbed my iPad, and started to sketch. In no time at all, I had the template to make my own marshmallow chick wall hanging! Here is how to one of your own!
Gathering Supplies, and The Template
To make this project you will need a piece of 1/4″ plywood, about 2 feet by 2 feet. We used some older plywood we found in the garage. You will also need a jig saw for cutting your shape, sander and sand paper, yellow and black paint, paint brush/roller, small piece of rope, and hooks for making the hanging part of the sign.
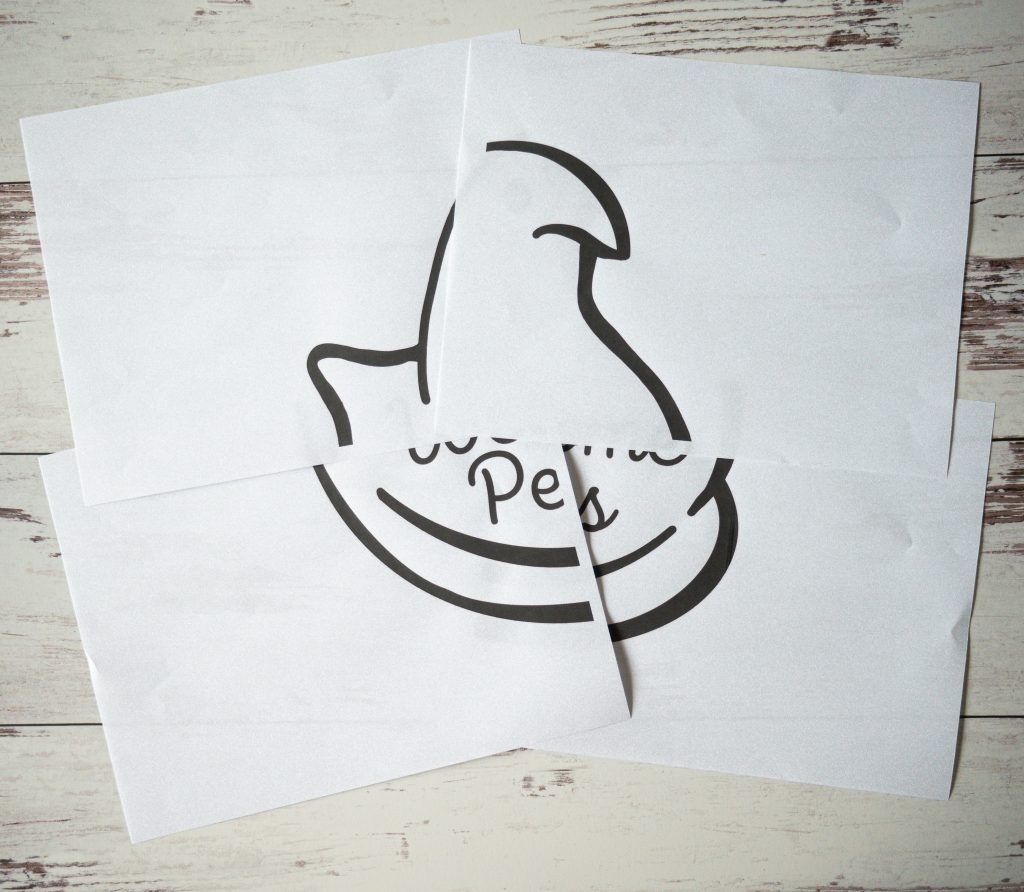
You can download the template we used here. Make sure you print out your template using a poster printing option. This option will print the template on a few pieces of paper. The “chick” should be about 16″x16″ when printed. Every computer is different when printing a poster sized print, so be sure to check that before you get started.
After you have printed out your chick pieces, you will need to cut out the pieces, and tape them into place. After all the pieces are taped together, it’s time to get to cutting!
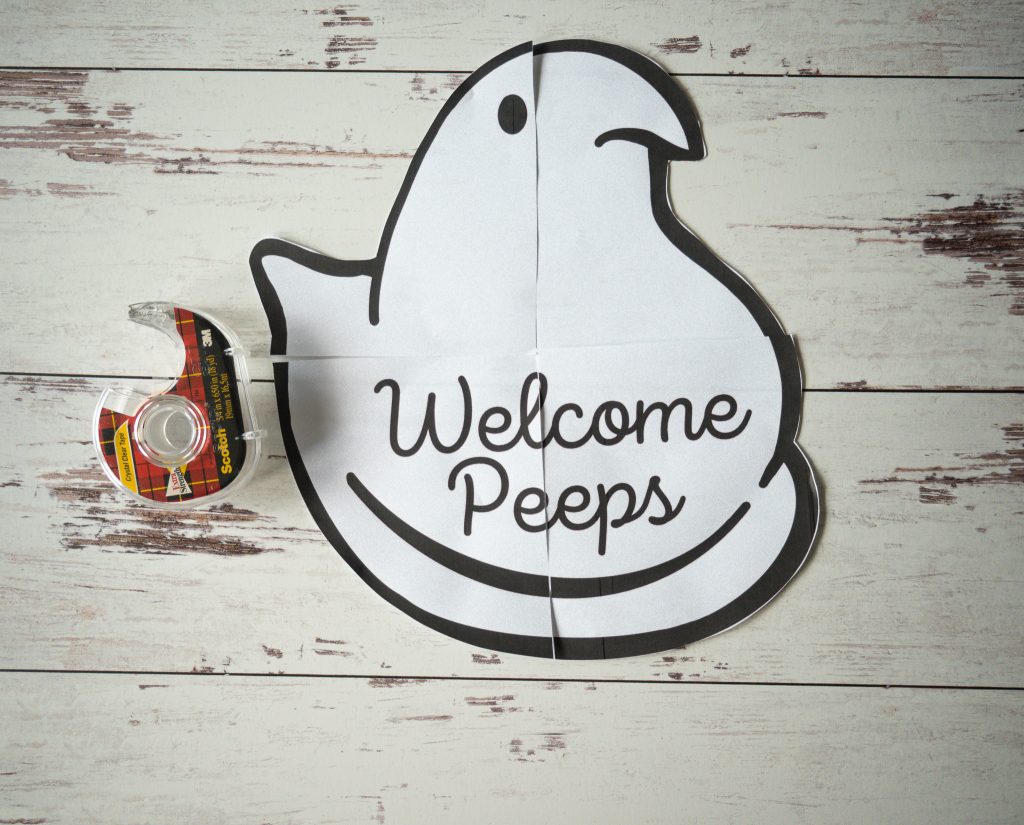
Time to Cut!
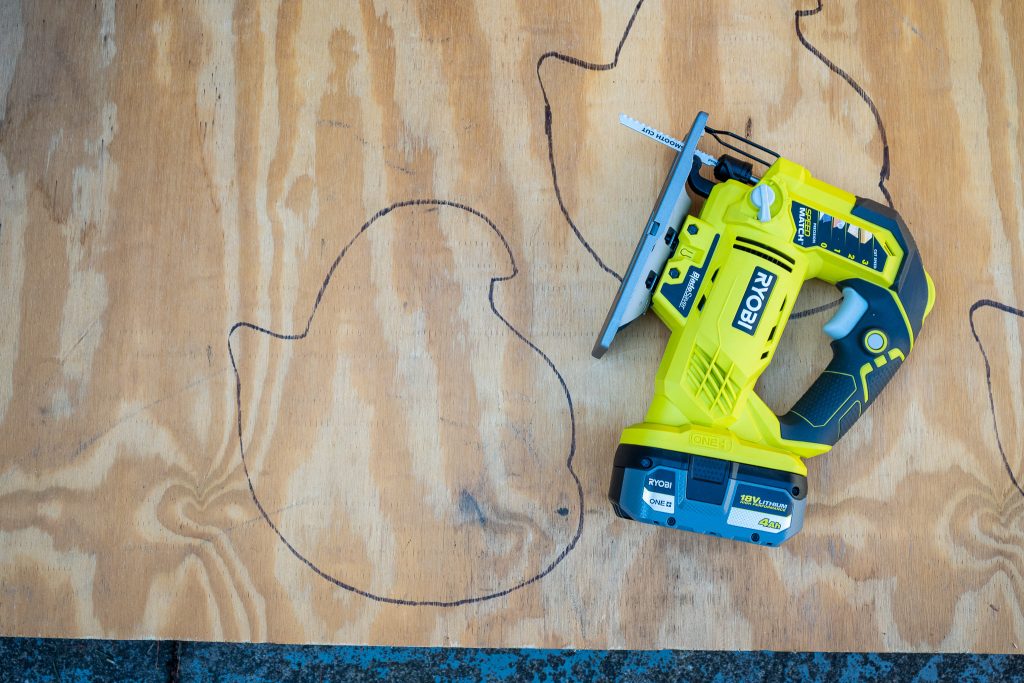
Before I get started, this project is not sponsored by Ryobi at all but that is all the tools we use! Perfect for our hobby farm, and crafty adventures! To cutout my chick, I used my jig saw, cutting slowly and carefully. Everyone has their dream tool, and I have dreamed about my own scroll saw someday, but the jig saw works great in the mean time! Using your sander will help to smooth out any edges that may need it.
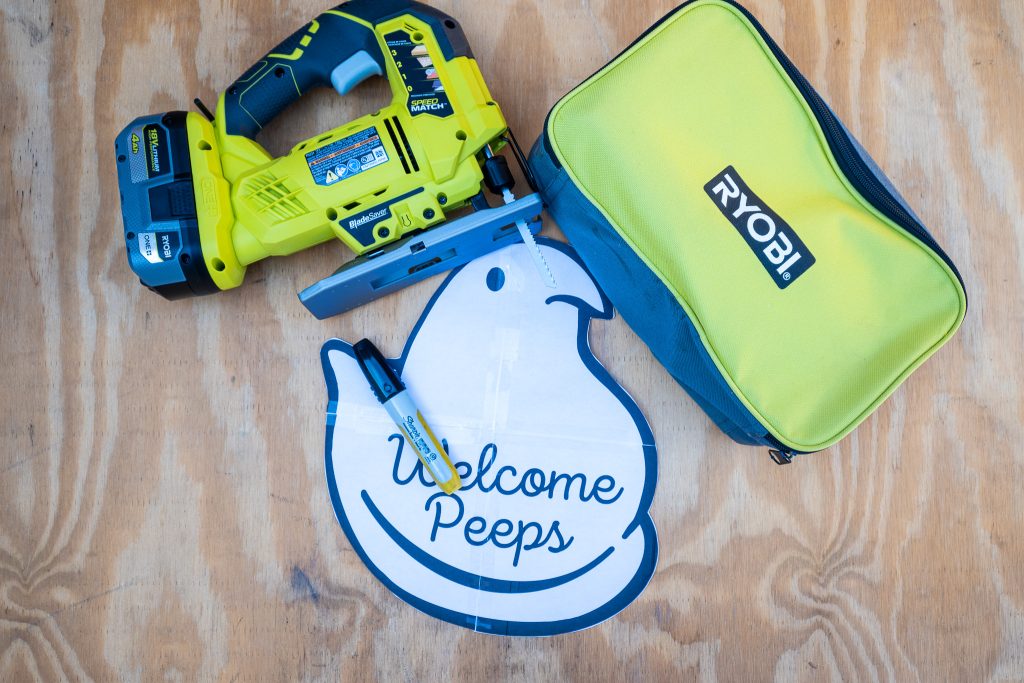
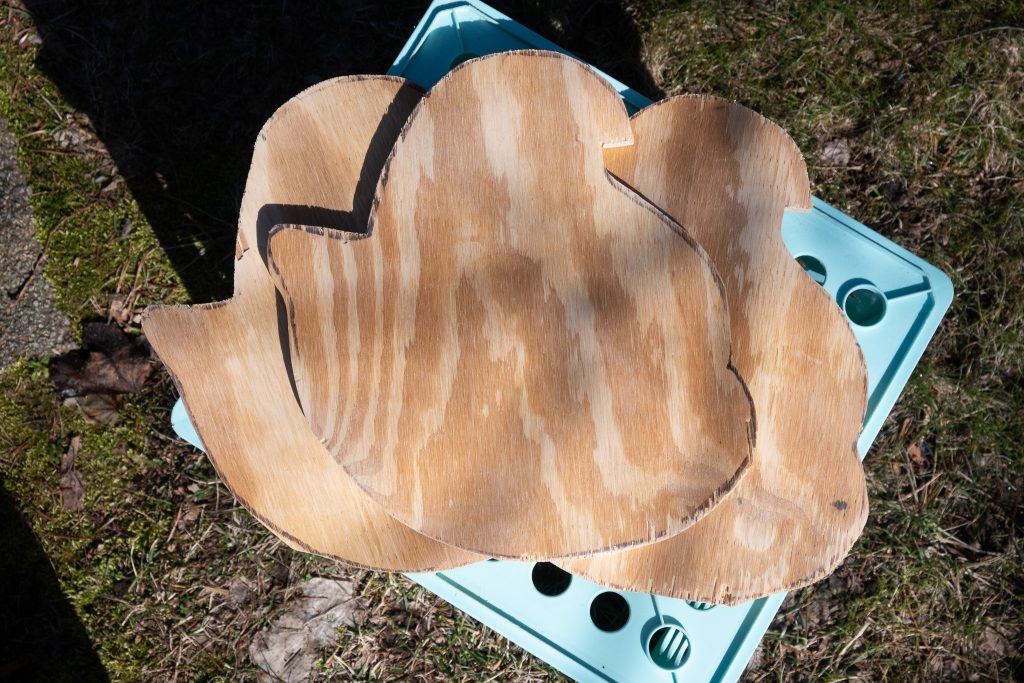
I traced my template onto my piece of plywood using a permanent marker. I had a larger piece of plywood so I was able to cut out 3 of the chicks. Be sure to save your template after tracing, you will use it again a bit later.
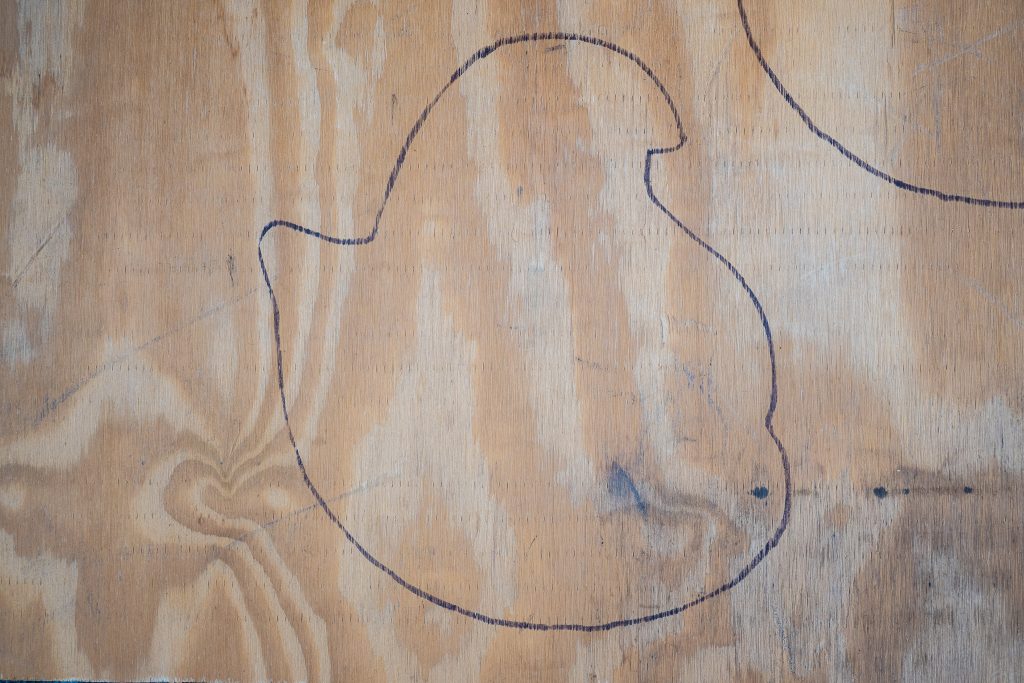
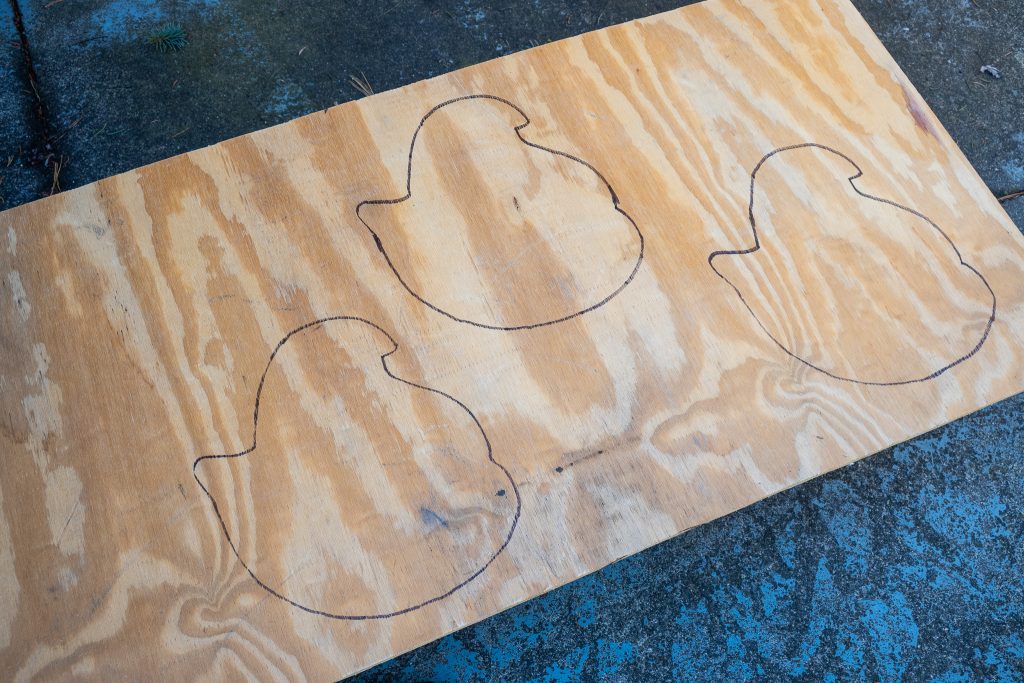
Cutting and Sanding
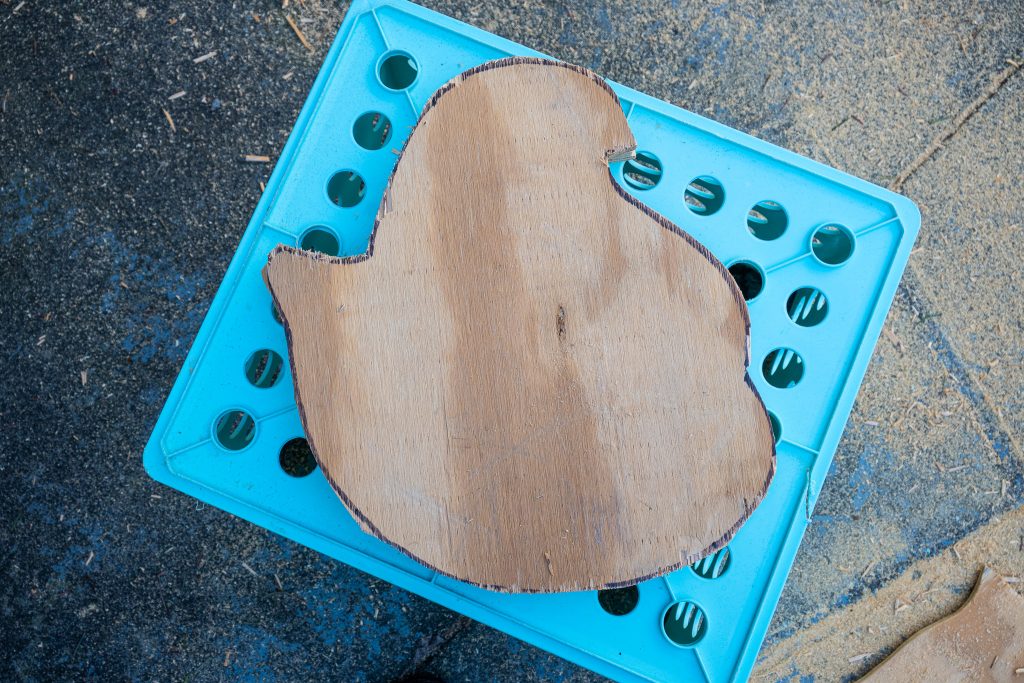
After everything was all traced, it was time to cut everything out! I took my time, and was very careful. Be sure to go slow, especially around the rounded areas.
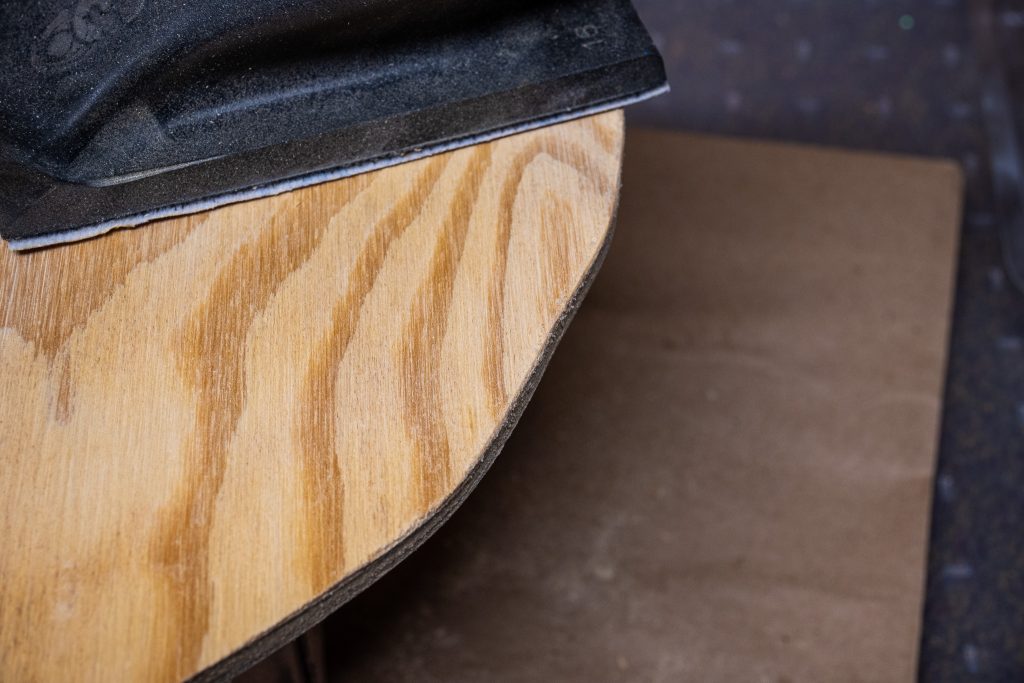
After all the chicks were cut out, I used my Ryobi sander to smooth out the plywood, since it was an older piece of plywood. I also cleaned up my edges a bit as well. This is optional but makes painting much easier, and gives your chick a finished look.
Filling, Painting, and Tracing
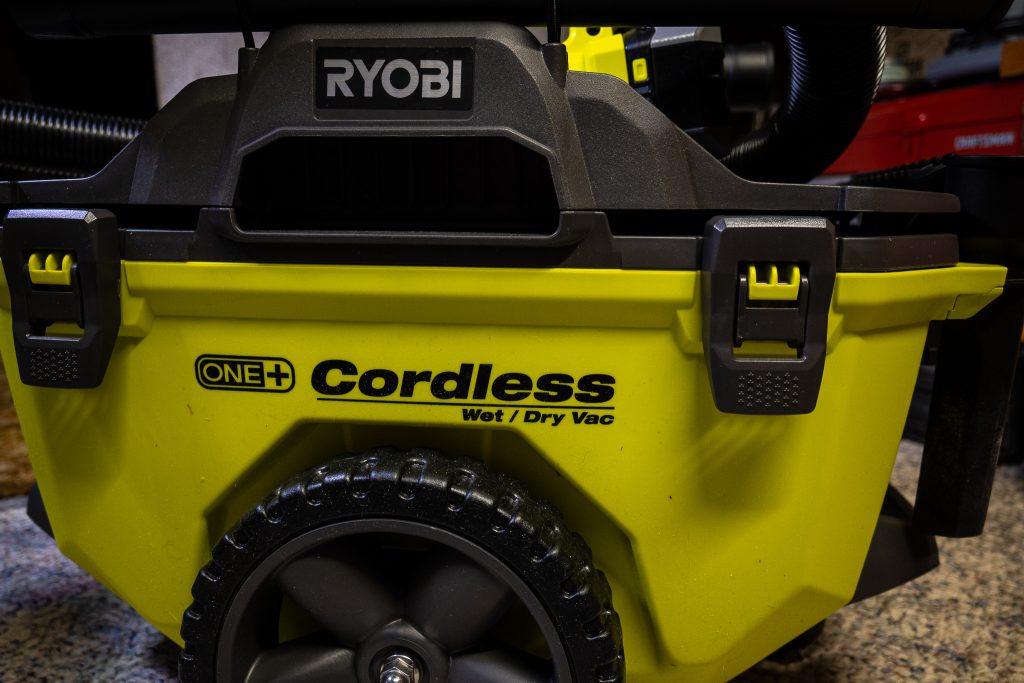
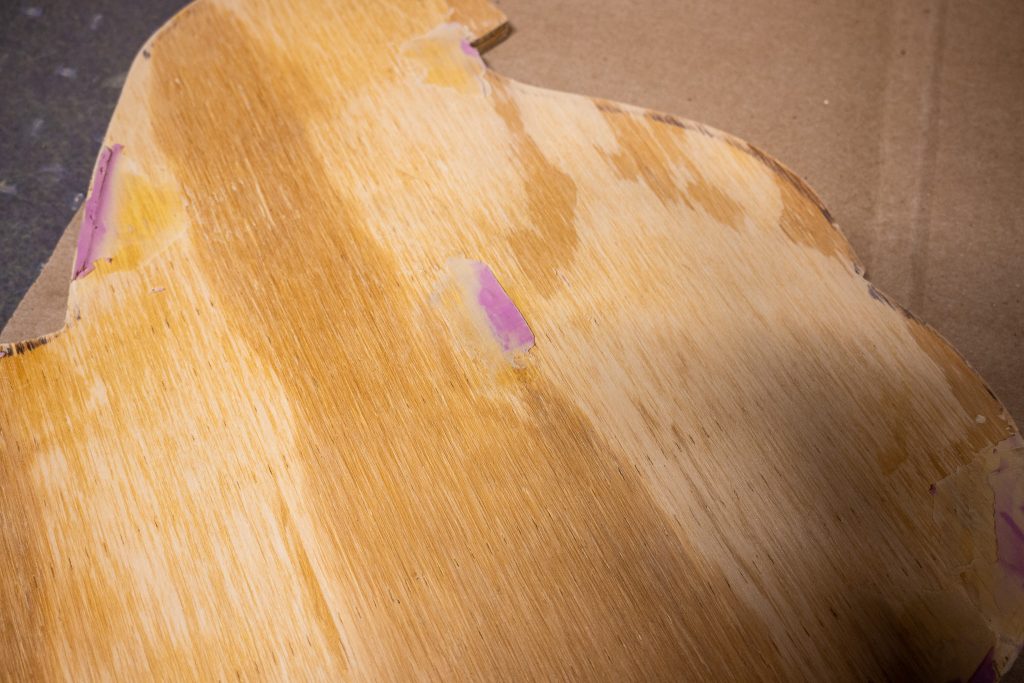
Back inside our workshop, I hand sanded the edges of the wall hanging, smoothed them out, and rounded off any edges that needed it. With the tail and beak, I made sure to shape them to give them more of the “peep” appearance. The next step is again totally optional, but I used some wood filler to fill any marks on the plywood. After that dried, I sanded those areas flat before painting. My small Ryobi shop vac was so helpful in keeping my work area nice and clean!
Time to paint!
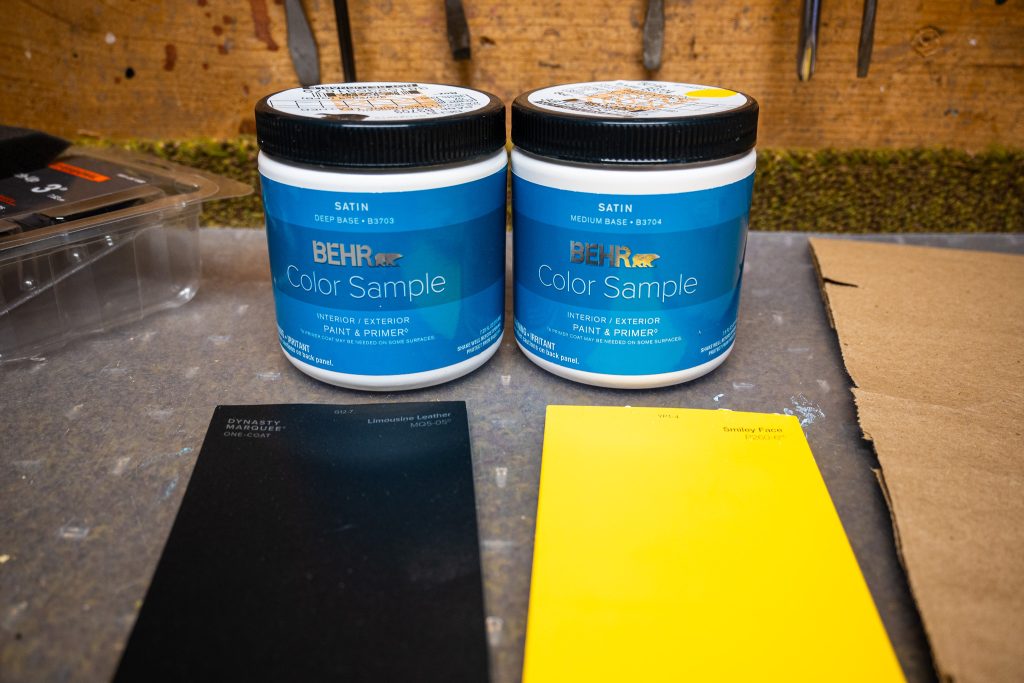
For this project I used indoor/outdoor paint, so it will hold up for years to come. If you know your wall hanging will be indoors at all times, you can use traditional acrylic paint. We started to paint using a sponge brush, but found the roller to be so much more effective!
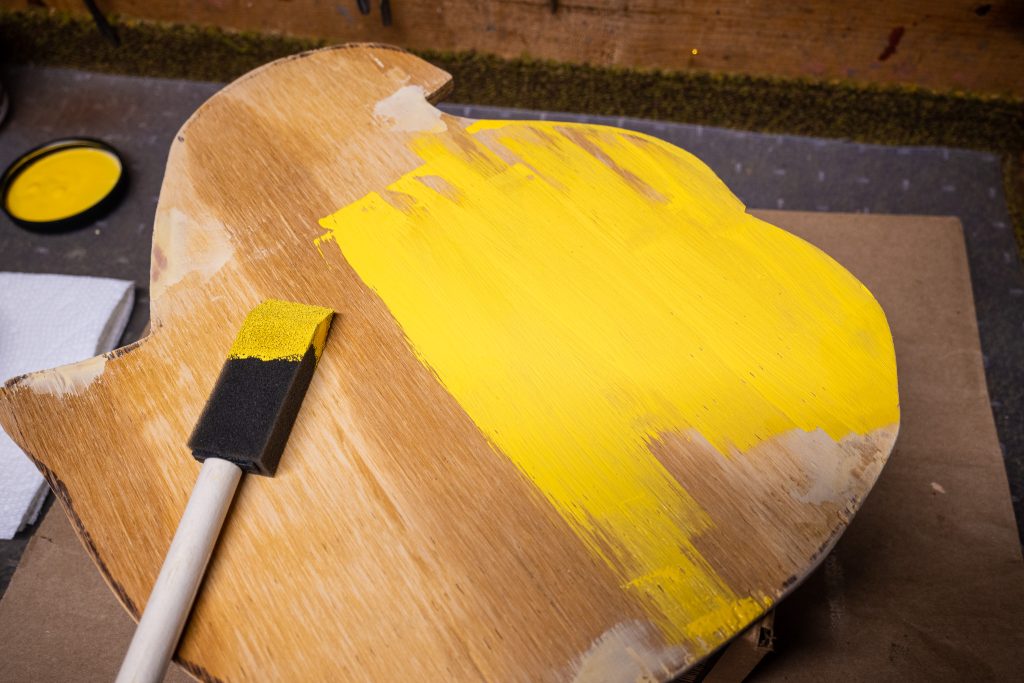
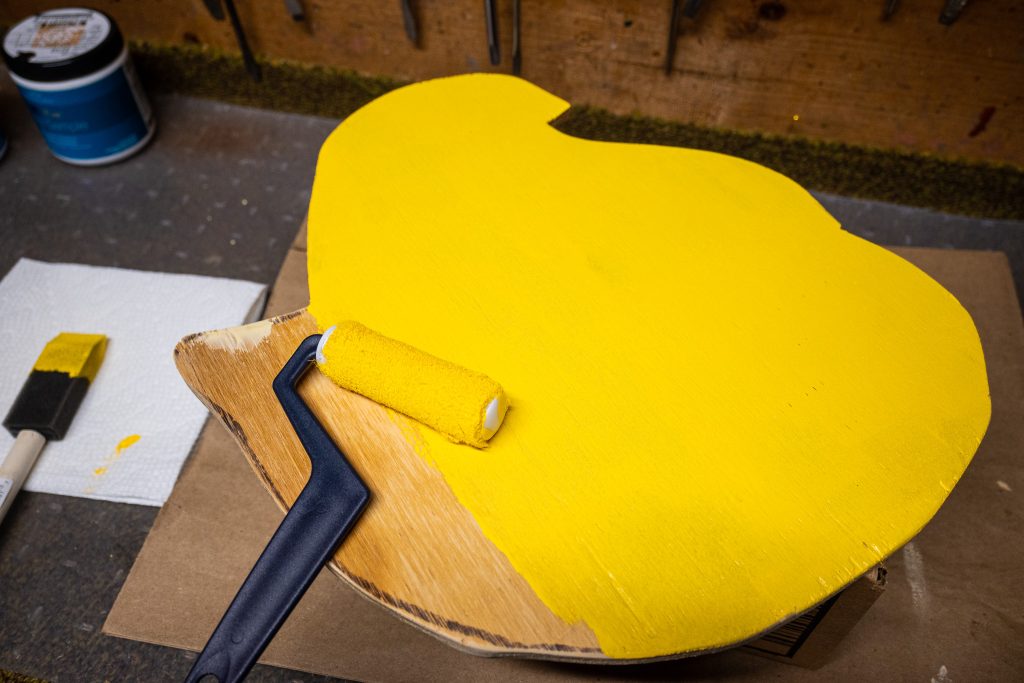
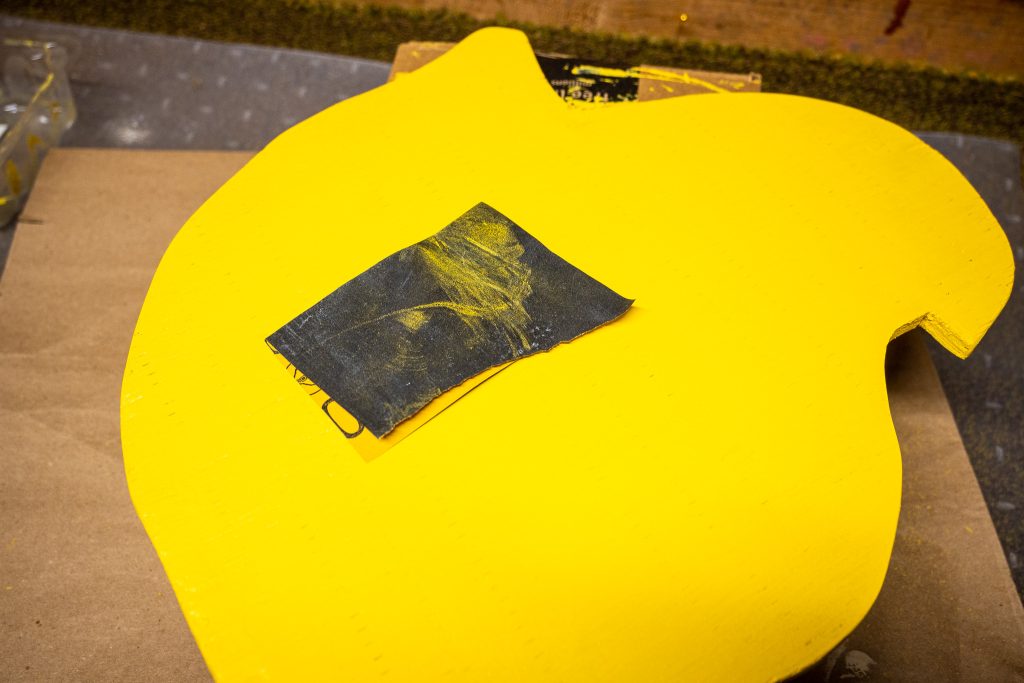
I needed applying 2 coats of paint on my wall hanging. I applied one layer, allowed it to dry. Then I sanded any spots that needed it. Gave the wall hanging a quick vacuum after sanding, and painted the second layer. Love the bright yellow!
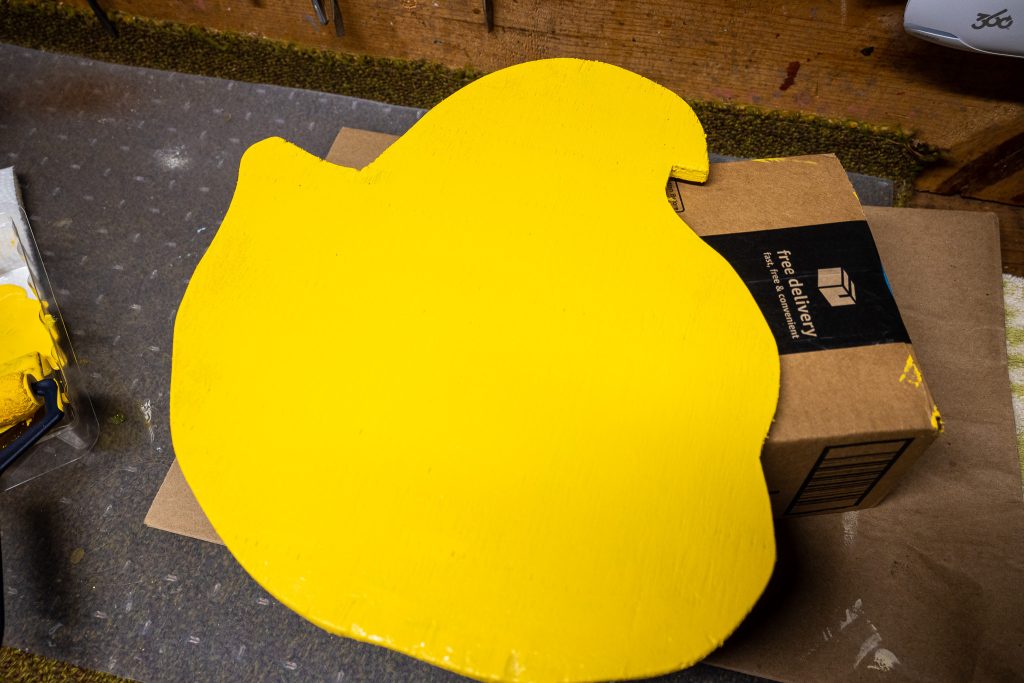
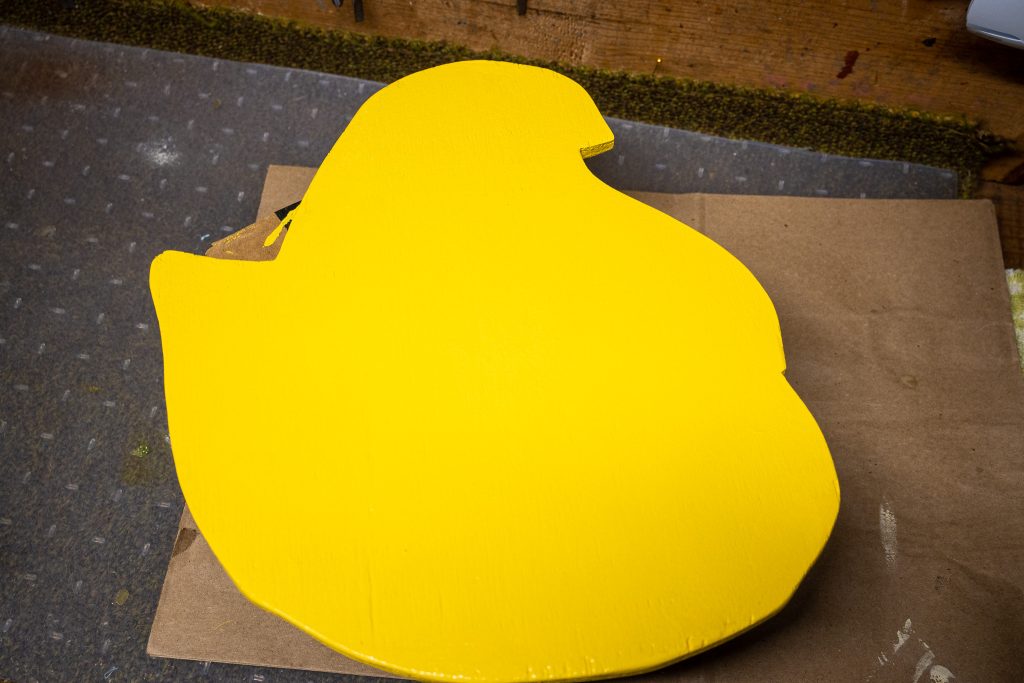
Remember when we said to save your template? Now is the time you use it! You will trace your design onto your wall hanging for painting. We used the template, and some lighter graphite paper. This paper doesn’t leave a lot of extra marks besides were you trace, and anything that does transfer over, you can erase easily with a pencil eraser.
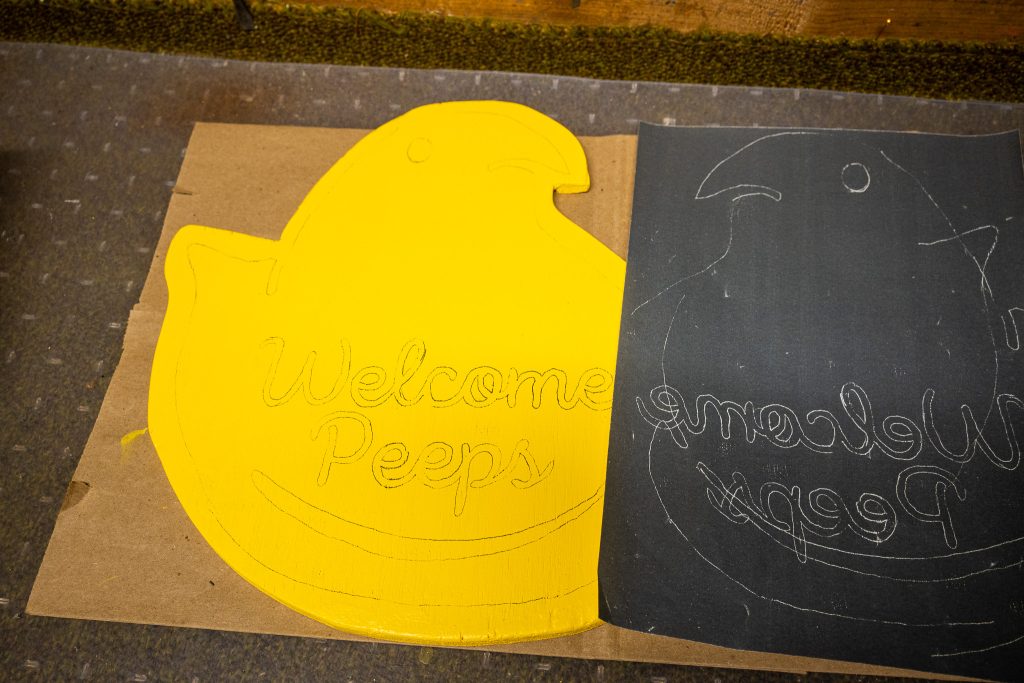
You can also use a Cricut or any vinyl cutter to make your design on your chick as well, but I wanted to paint my chick from start to finish, give it that homemade look!
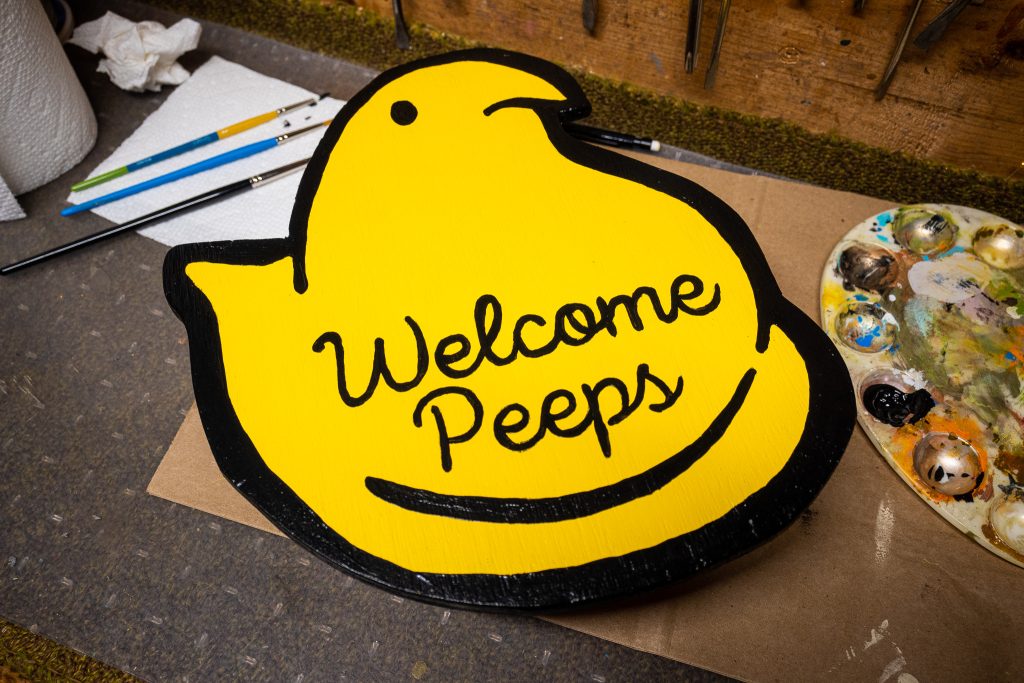
Hanging and Display!
After the paint on your wall hanging is completely dried, it’s time to add a hanger and display! We used a d-hoop type hanger, and some twine. Depending on where you would like to display your wall hanging, you can adjust the type of hanger you use. You can even get a stand for your chick, and not hang it at all.
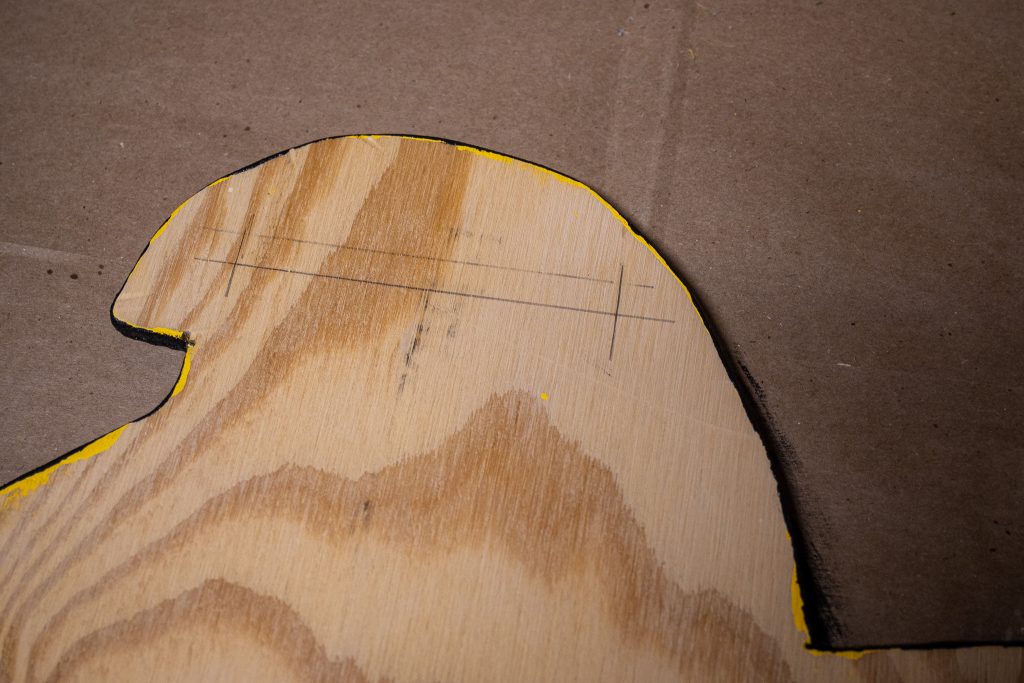
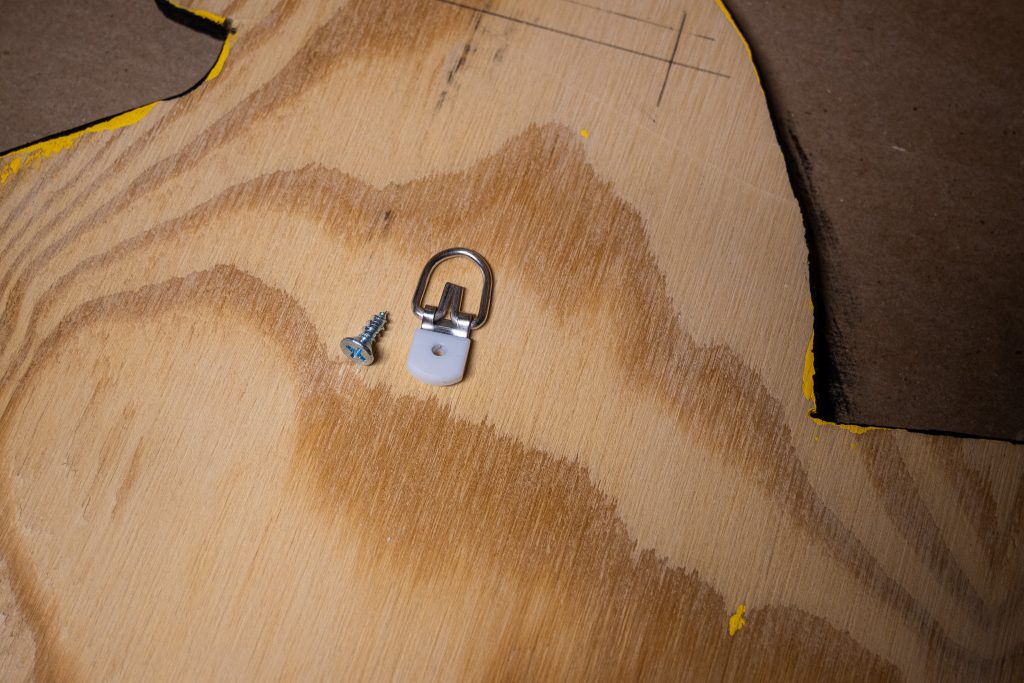
After your chick has a hanger, find the perfect display location, and enjoy your hard work! There are so many options! We opted to add ours to our front door, and we are thinking we need one on the chicken coop too! Hopefully we have given you some inspired to make a fun chick wall hanging of your own. This is such a fun project, that you can add so much of your own personal touch to. Happy Spring!
